4/15/19
So I am entered in the California River Quest and the Texas Water Safari this year and have decided that the LPB will be the perfect mix of speed and stability for those races. I’ve never paddled one – but I’ve decided anyway. I started off making a couple of paddles first. I have made one previously out of Yellow Cedar. That one gained a lot of weight after a couple of hours in the water. And that was with 2 layers of house paint and 3 coats of polyacrylic on it. I did a test and found that bare Western Red Cedar absorbs less than half the water of red cedar after 2 and 12 hours underwater. My new paddle in the video absorbed only 1 gram of water after a 3 hour paddle. It had 3 coats of Spar Varnish on it. Awesome.

Finding The Wood
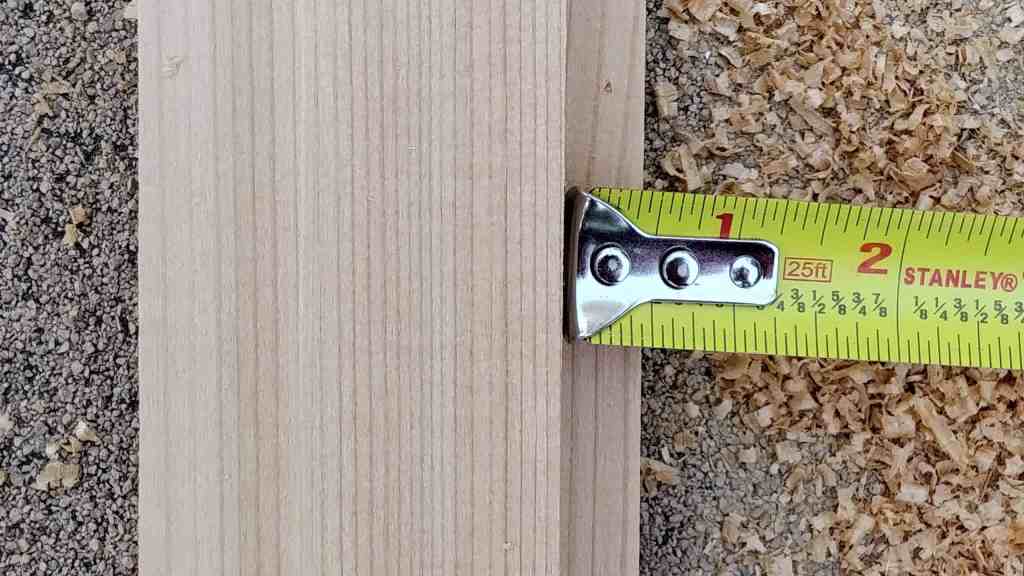
I was able to find some decent Western Red Cedar boards locally. An hours drive got me an 18 foot board that has some knots down the middle and a few others that I may have to work around.

The Big Cuts, Knots, and Deck Beams.
I hope no one else has been asking Brian questions because I feel like I have already been monopolizing his time.
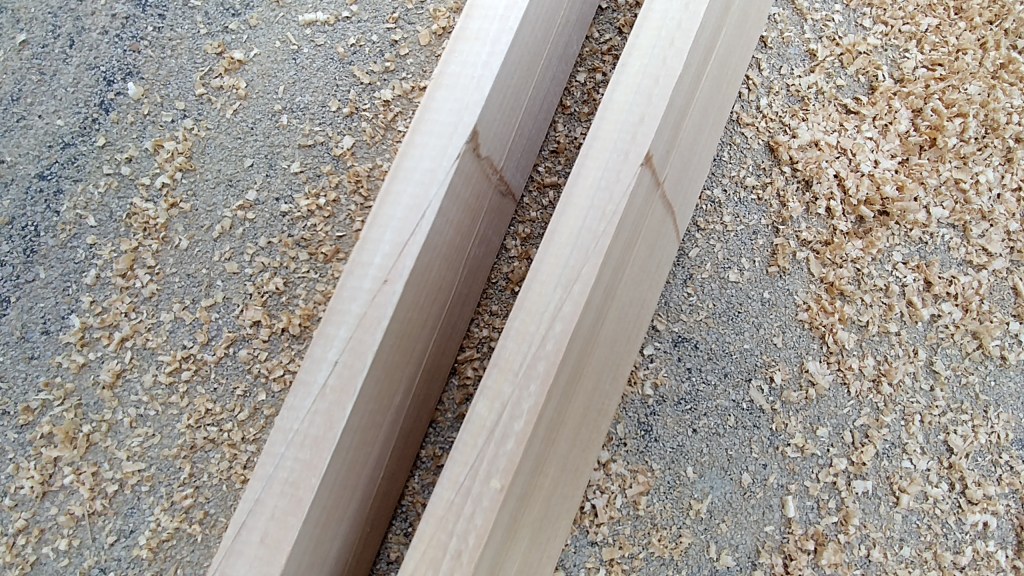
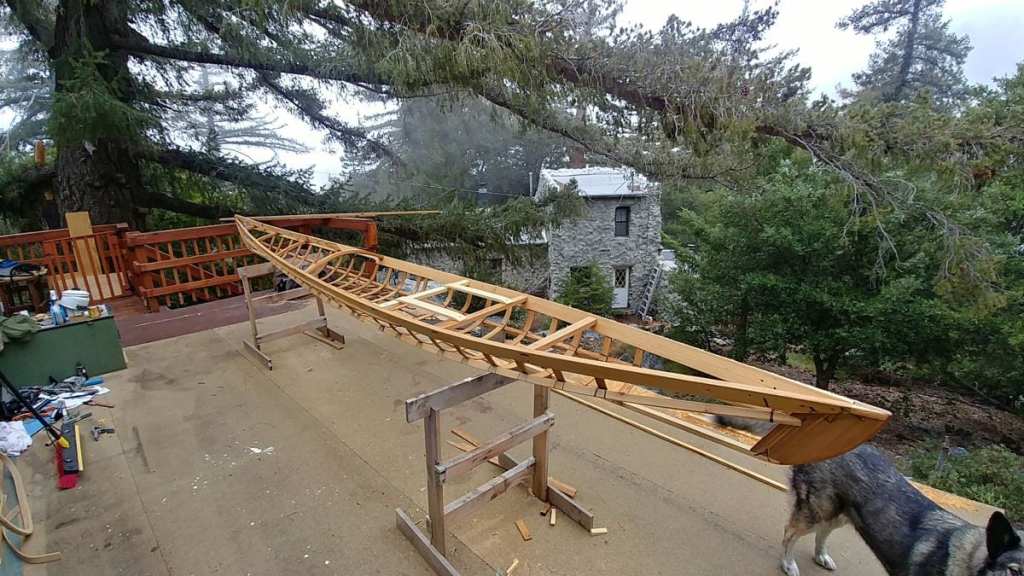
Here is the board cut into the gunwales, stringers, and keel. I was able to avoid most of the row of knots in the middle of the board.

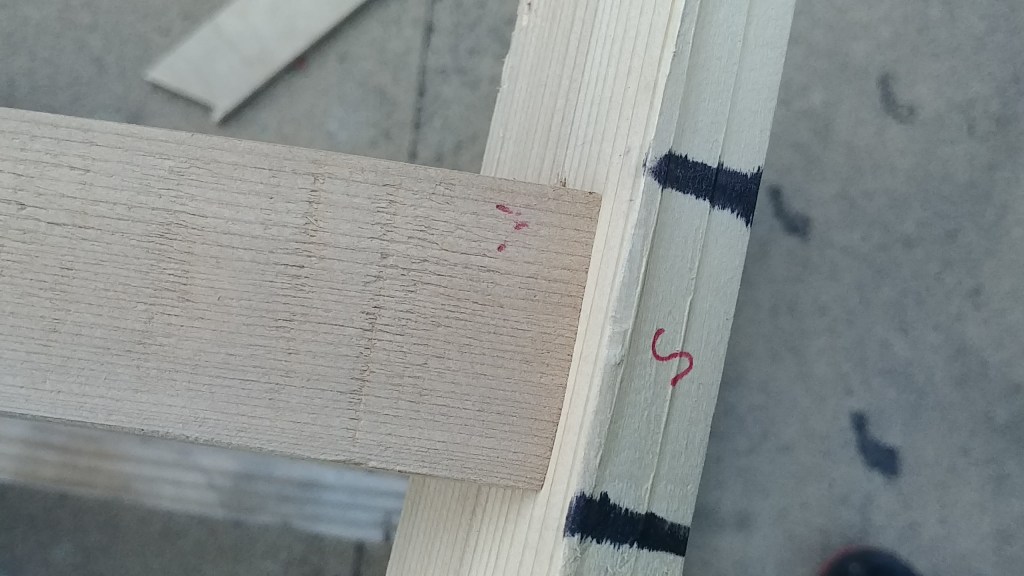
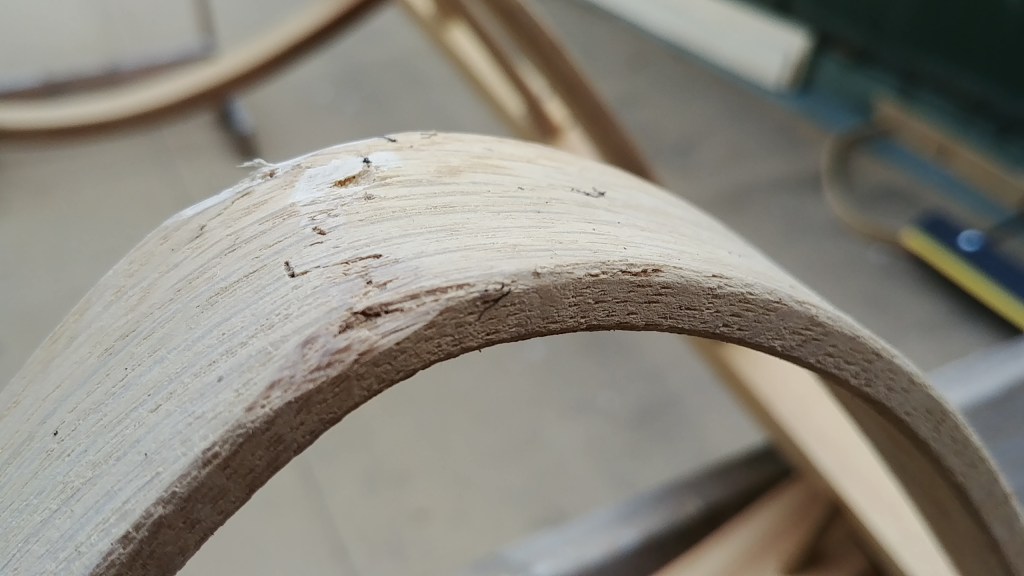
There is a significant through knot in each of the gunwales. There is also a second knot in one. I have used scarf joints in a fuselage frame kayak I made a few years ago that are holding up well. They are in redwood gunwales and stringers that are really thin and flexy and yet have not broken. You can see one in the orange picture below. After emailing with Brian I have decided to cut around the knots and see how well I can line the gunwales up as the rest of the length seems good.


In the meantime I have cut out the wood for my deck beams and laid them up. I had to use a circular saw with a little metal guide to cut the pieces out of a dimensional 2×4. One clear select+ board was enough. I am surprised how well the cuts went. I have no table saw.


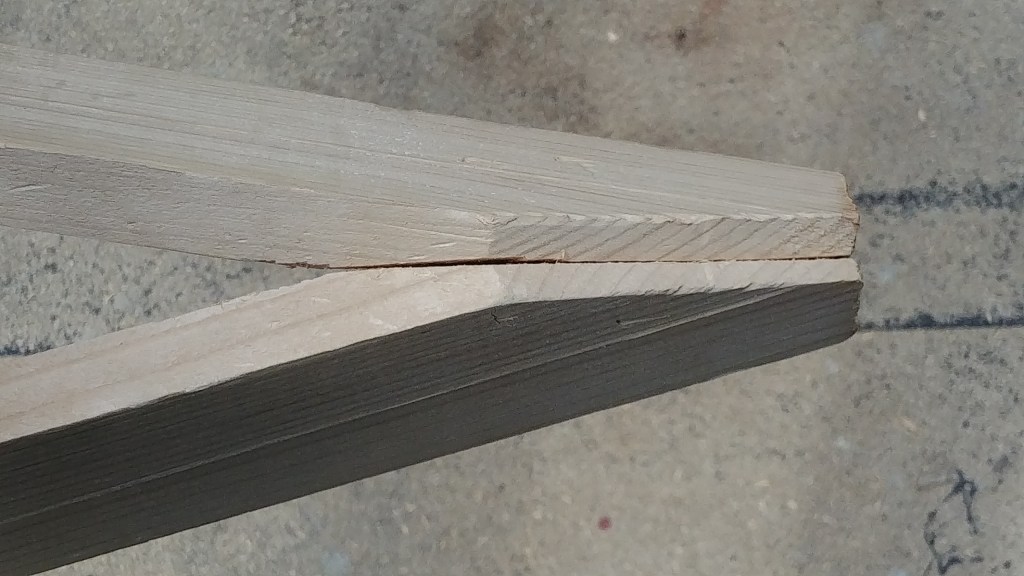
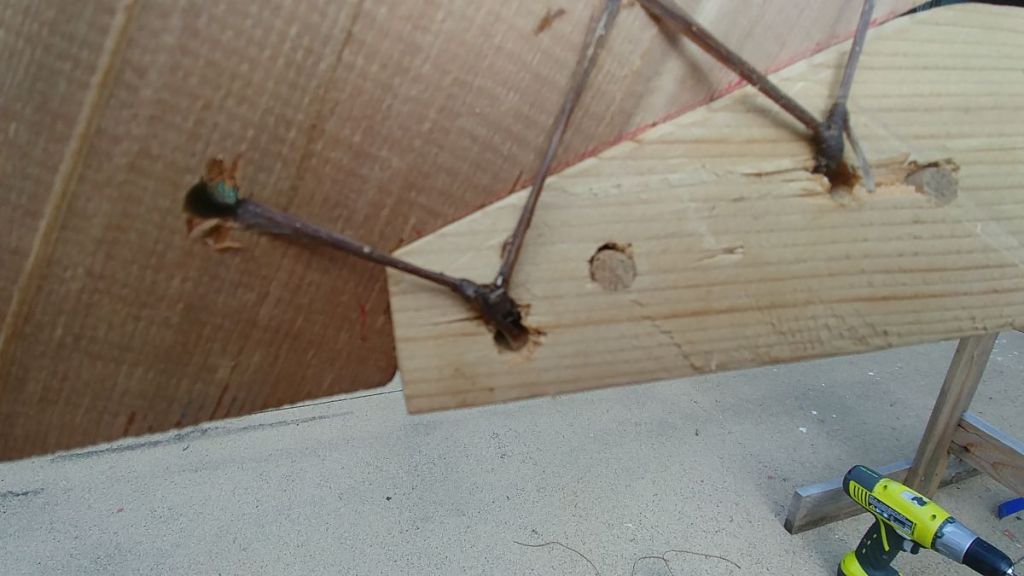
The Scarf Joints


Mortises
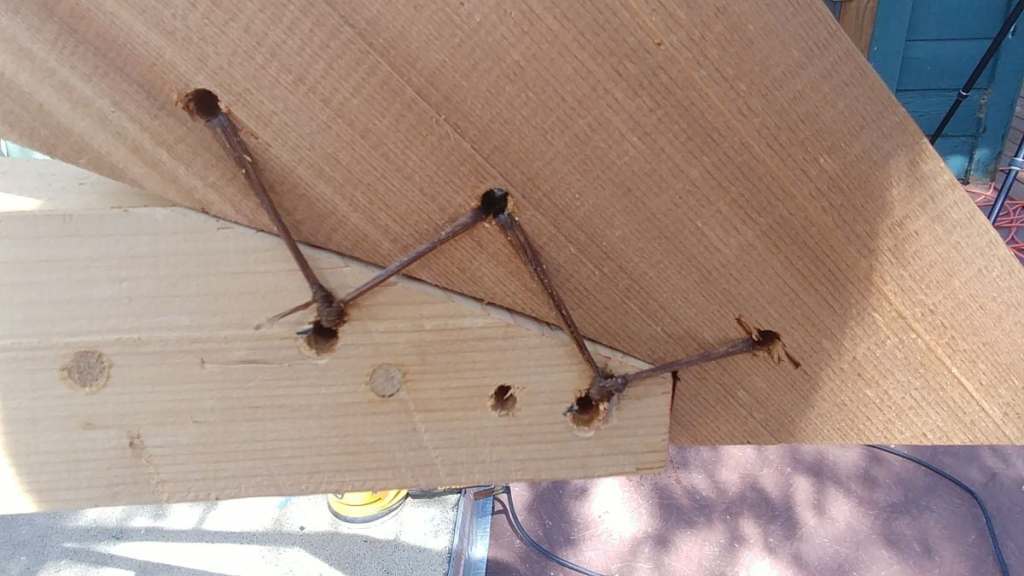
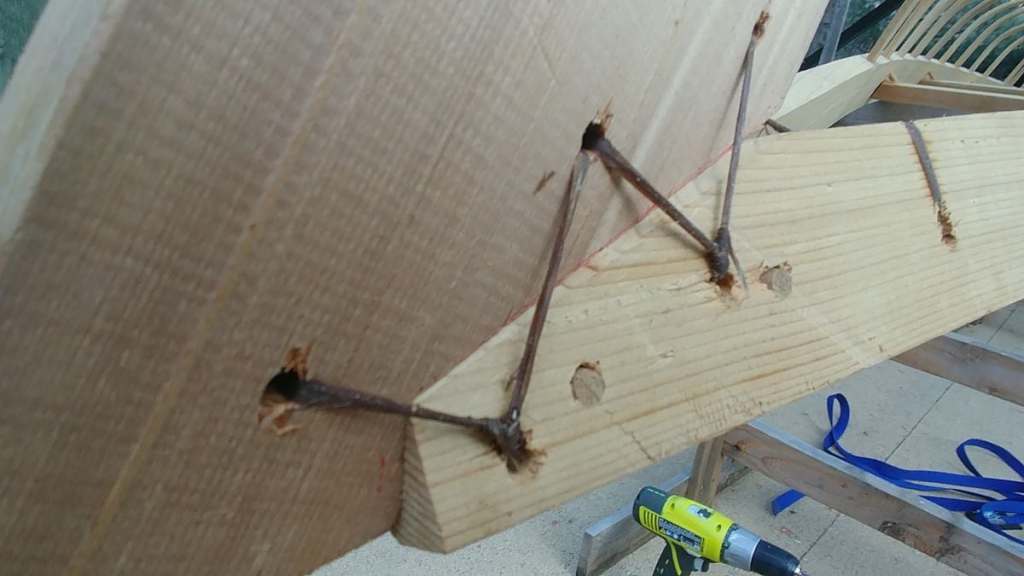
Here are the pics of the deck beam mistake I made and the video of the rib mortises. The stern 3 deck beam mortises on the one side I cut perpendicular to the gunwale before noticing what I did wrong. Then I “fixed” them by cutting the angled hole in the same spot. I’m “sure” it will be fine. I have been able to do most of the things so far that Brian emphasizes not to do.

In the video I talk about the mortises being on an angle. I now think that was happening because I was using the drill as a router with it still in the guide. When I started taking the guide away things were straight.
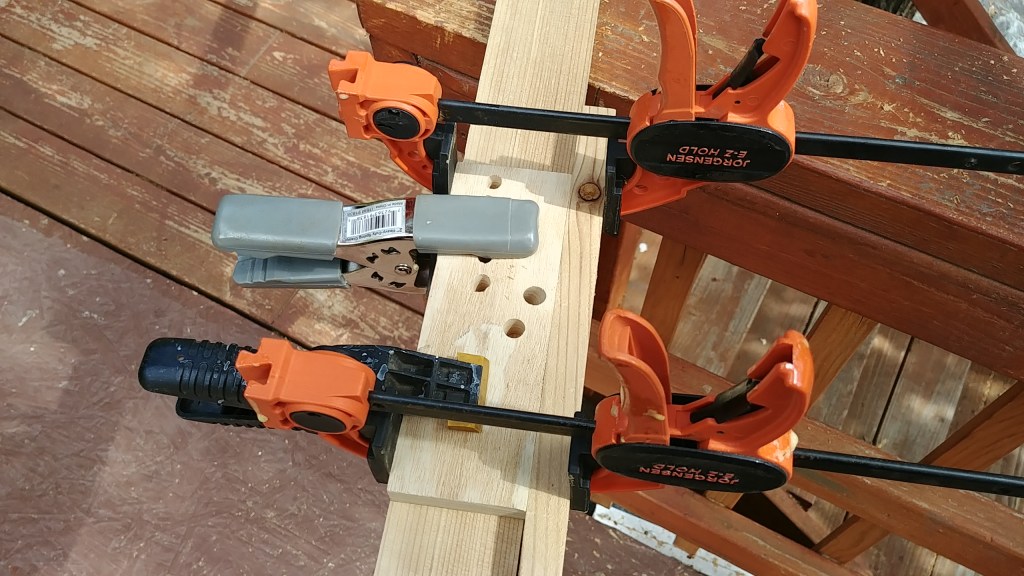
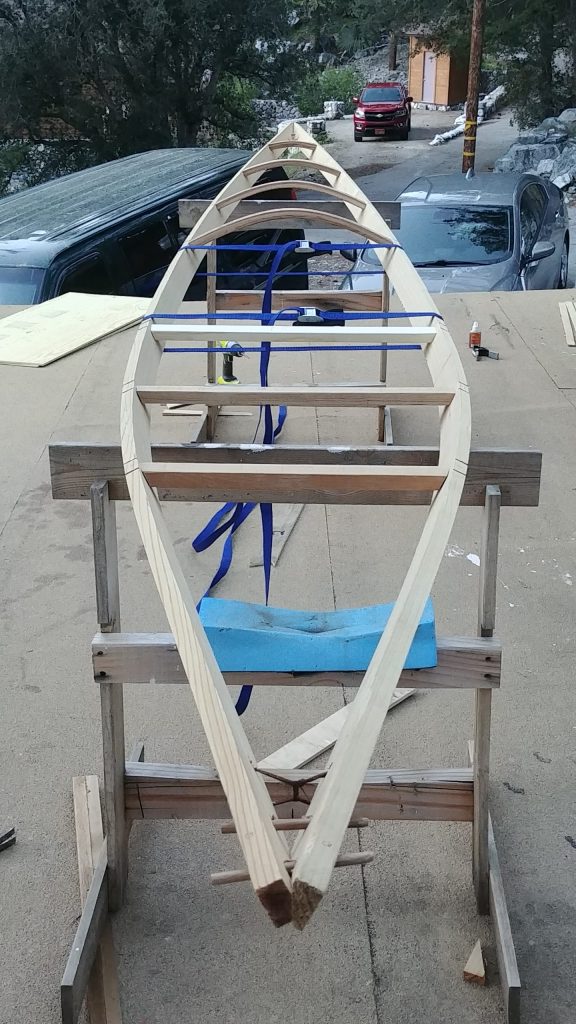
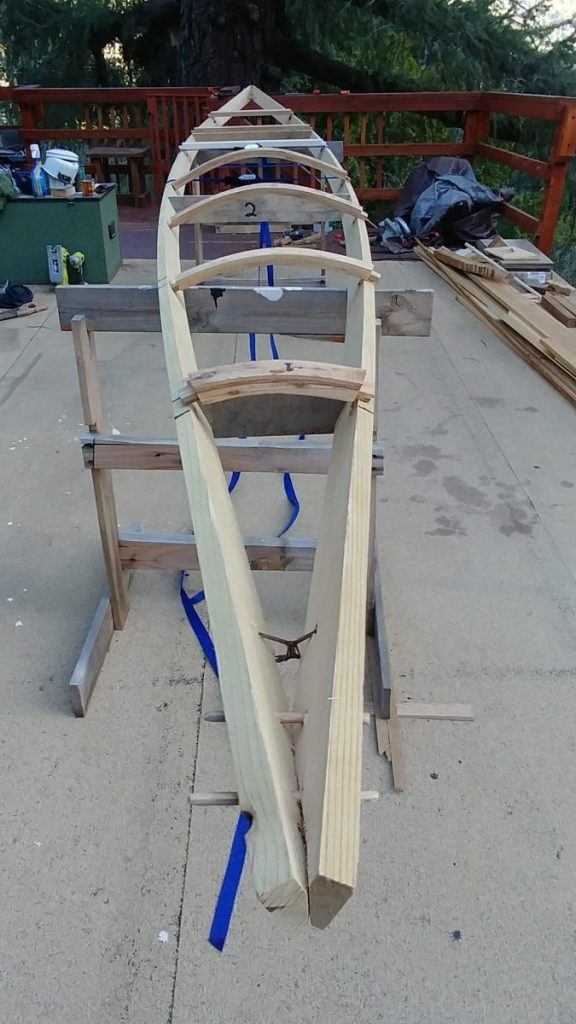
Kerfing, and Pegging Around the Frames.
This shows setting up the frames and spreaders, kerfing and pegging the ends. So far so good. I’m a little worried about that unevenness in the gunwale making one side wider than the other.


Cutting up and installing the deck beams.


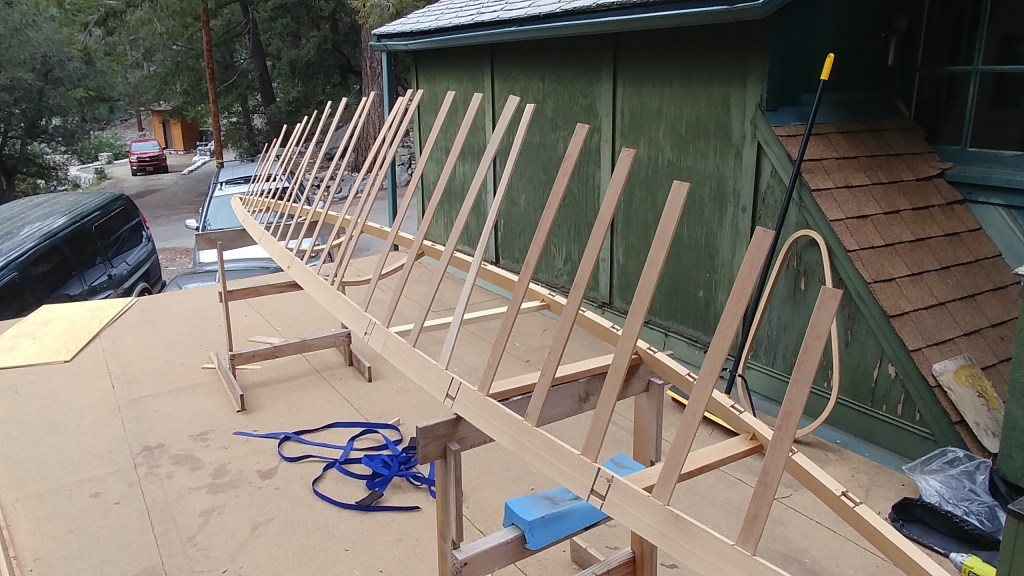
Steam Bending
This was really stressful but it ended up well. Here you see my several broken ribs. I also replaced a couple that only had a little splitting as I had a few left over. The steambox worked well but I should have set it to give me 90 second intervals as I was fumbling. The next time will be much easier. Also, don’t use your best ribs for testing. My knot should have gone in the boat. These were Brian’s “not perect” ribs and they worked well.


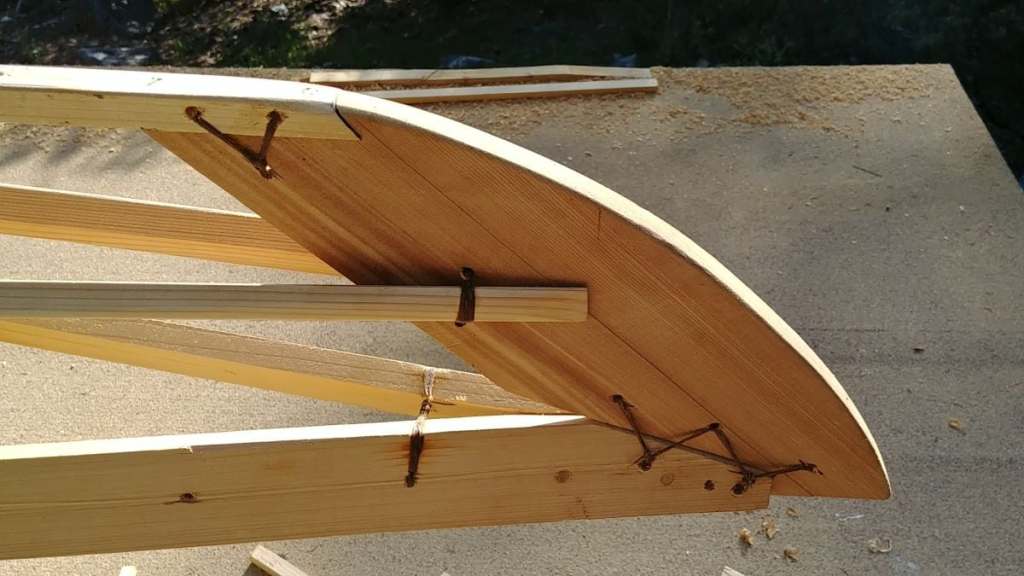
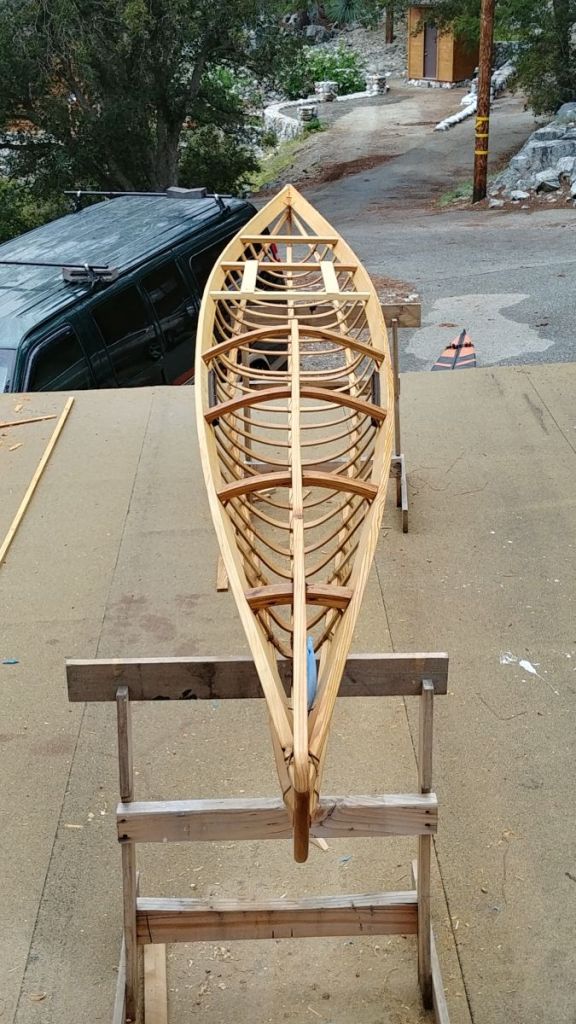
Keel and Stringers
So here are the stringers tied on along with the end boards. What went right was the fit of the boards and the set up for the bevel on the stringers. There were several things that I did wrong. I cut a curve in the stern that shortens the boat by about 4 inches and changes the angles of the stern. I cut the stringers a bit short in the stern so they came together a little wierd at the board. But, the board and keel look straight so it should be alright.
My biggest issue was that when I was setting up the stringers to the proper heights off the gunwales, they were shifted about 1/2 to one side in the back half of the boat. I went back and forth with Brian several times and I think that this is the effect of the unevenness of the gunwales when I initially cut them. I decided to push the stringers to where they were close to equidistant off the keel instead of the gunwales. This will make the gunwales off center but the bottom of the boat will be closer to how it should be. I am really nervous about this because the last kayak I made had a stern that pulled to the side and required a fin on the bottom of the boat to track straight.


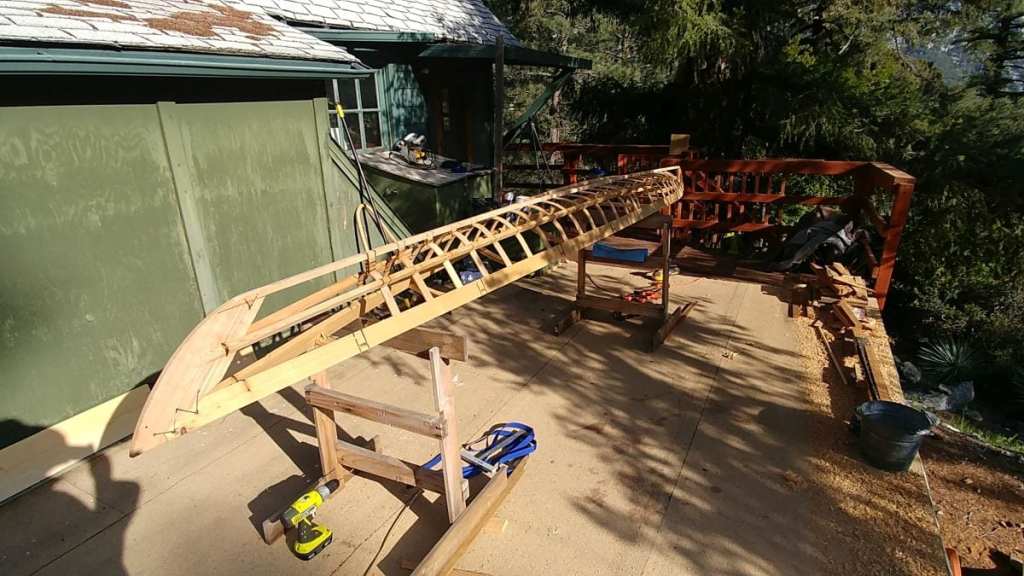


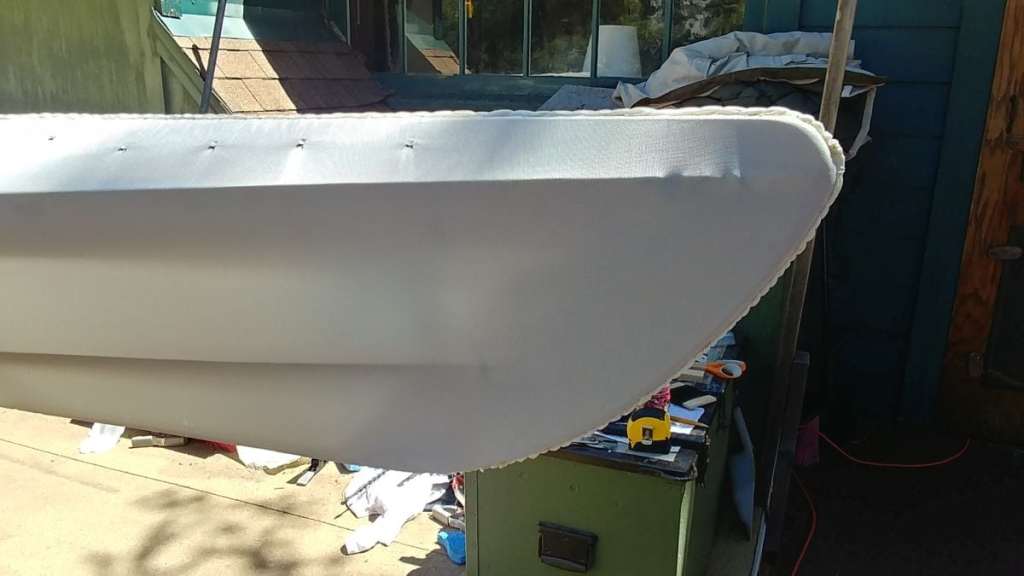
The Finished and Oiled Frame

Skinning
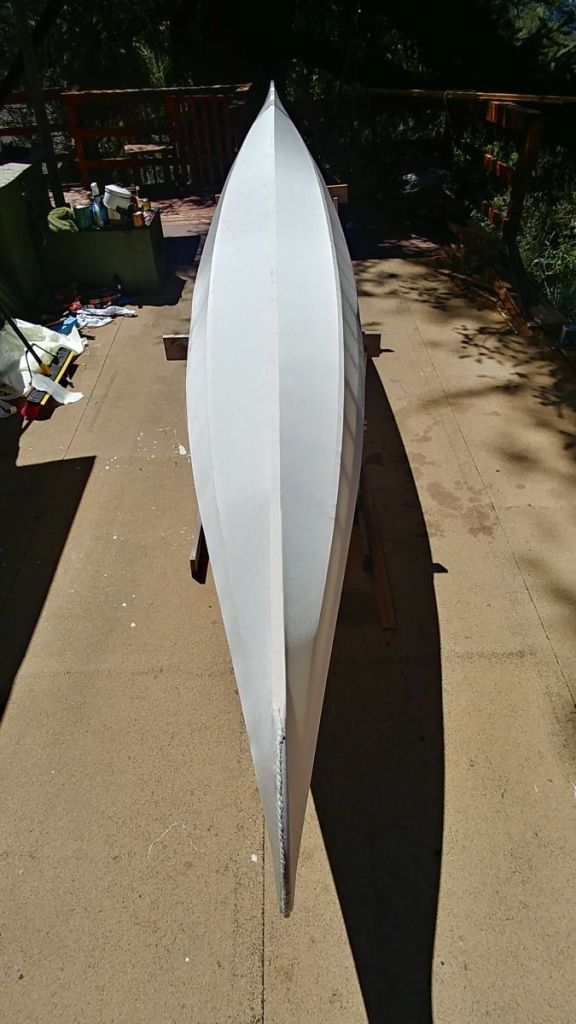
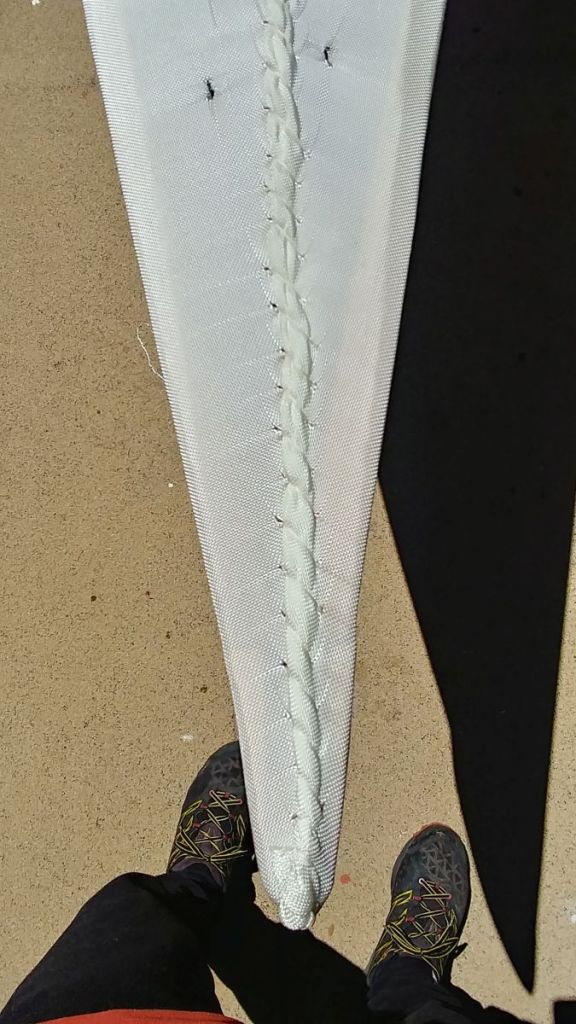
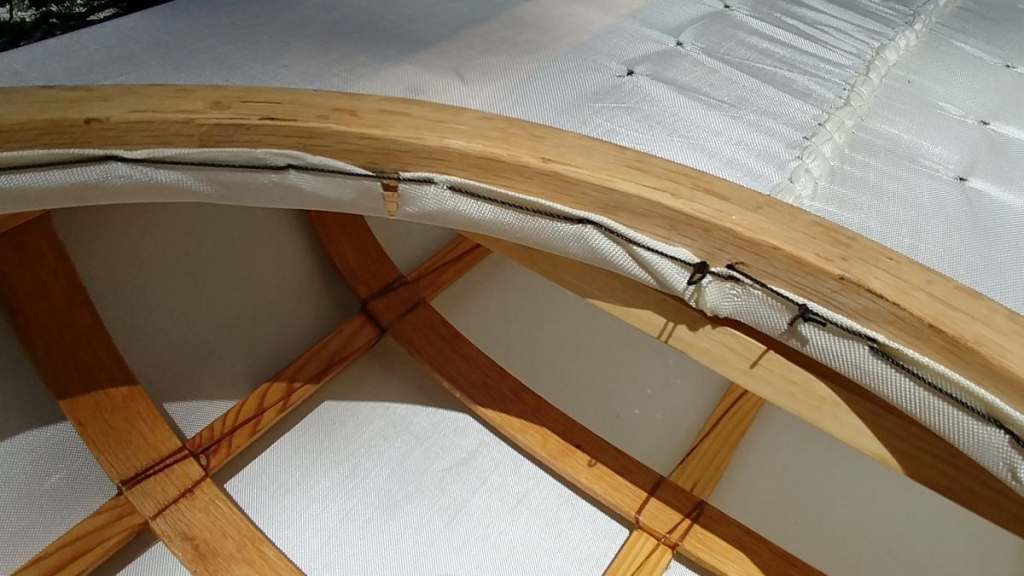
The skinning went easily. I like the pretensioning of the skin which is different than what I did before. I did most of the sewing by flashlight and it went well. The gaps around the coming were filled in well with the epoxy. The dye mottled a bit in the sun and I like the effect.


Epoxy
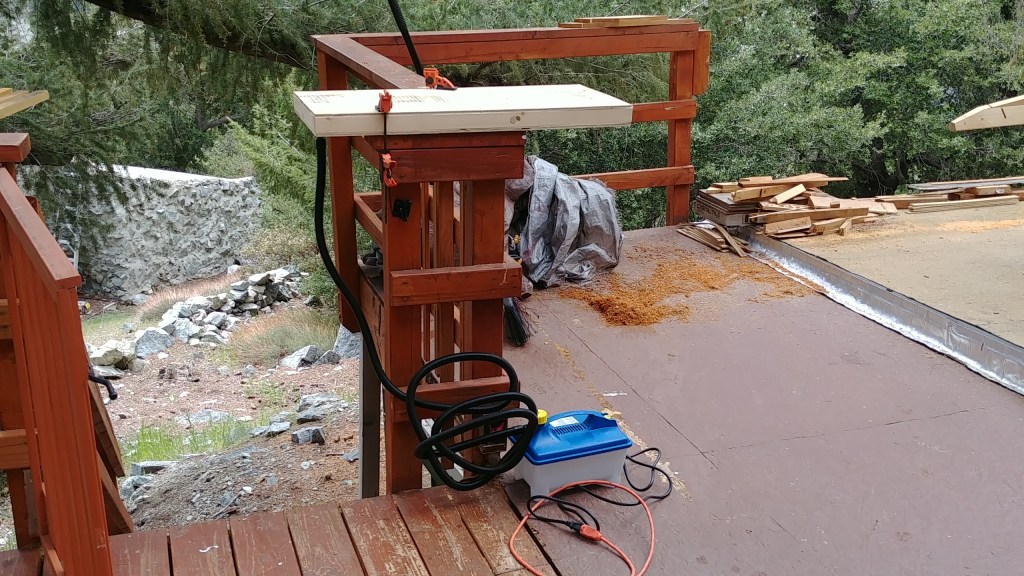
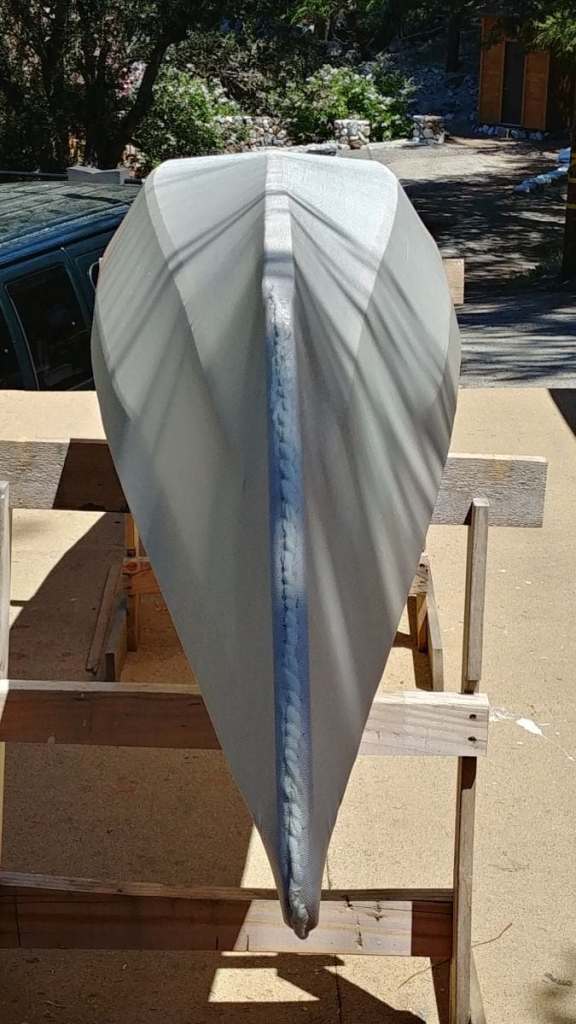
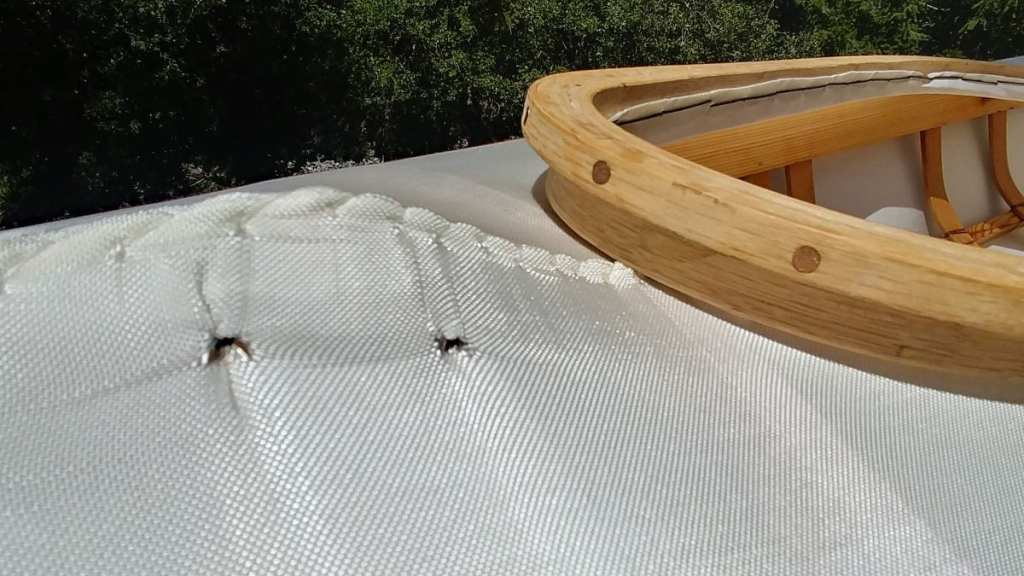
Due to a week of rain and cold temps I had to epoxy the kayak in the living room. I can say that the epoxy smells much less than the skin fabric. I ordered the touchup kit along with the main kit and every bit was needed. The part A of the touchup kit was a bit cloudy and weird but I used it anyway as I had no choice. It also got mixed with a small amount of partly cured epoxy in the cup. That mix was the second coat for the deck. The result is an interresting matte finish on the deck with the rest being glossy. The hardest part was getting the latigo through the holes at the ends. I found it hard to get the holes in the skin large enough heating the nail with a lighter. The skin is truely strong.


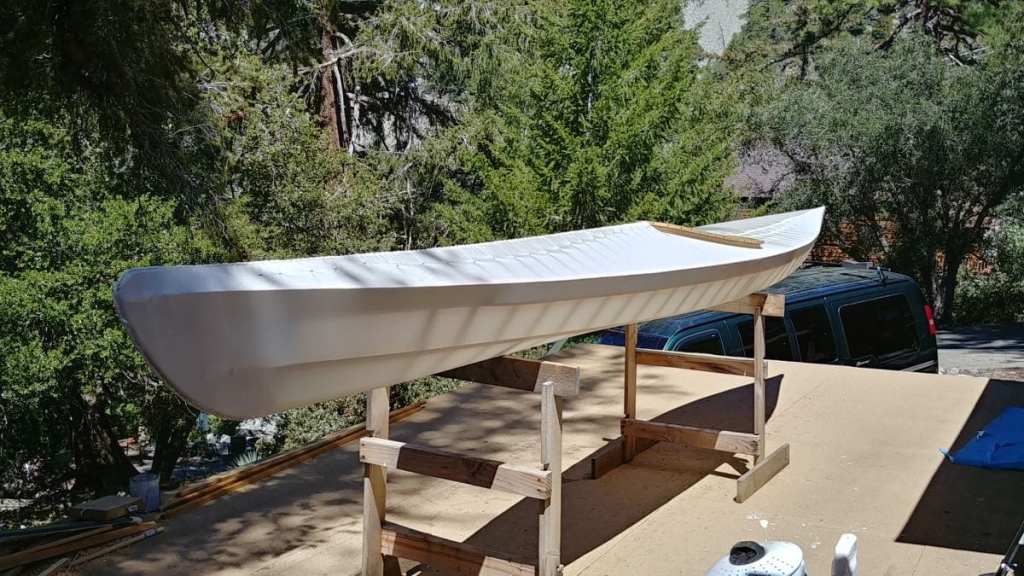
Finished LPB
The LPB is finished and I couldn’t be more happy with it. I have paddled it 4 times for about 7 hours. It has lots of knots, uneven gunwales, the wrong stern curve, a hole in the gunwale at the bow where a huge knot fell out, too short ribs in the bow, some really bad mortises, the cokpit area ribs are probably too flat..and yet it tracks straight, turns well, handles chop and 1ft high stern waves easily. My other kayak is in the picture below for comparison. It is 1.5ft longer and 4 inches narrower, but the waterline width is almost the same, it plows, and the skin is not nearly as tight. The LPB is almost as fast, has much more secondary stability, roomy, and turns way easier. The LPB is way stiffer and weighs 34 pounds. I can’t find any flaws in it. I didn’t get 100 yards before my first complement. Fishermen on the bank yell how awesome it is.
A little footage from the 2021 California River Quest. A 100 mile river race.


