Hi there,
Like many of you I saw Brian’s videos and work and was impressed by his detail, quality of work and enthusiasm. I built my first canoe when I was 15 out of 4 rolls of duct tape, a tent pole and plywood. It collapsed and fit in a backpack for transportation. Created it to reach splake lakes in Algonquin park. Even took it on class 1 Rapids with its tarp version covering.


Anyways, since I have a tandem cedar strip and a 18ft Kevlar ultralight tripper, I wanted a dedicated solo tripper. Having used quite a bit of them, I settled on modeling it after the northstar solo, in my opinion closest to perfection.
Day 1
I started the build with trees on the property. On my 30 acres I have lots of ash affected by the invasive species emerald ash borer. I cut some down and milled it to the various lengths and widths needed for the build including boards for ribs. The cut list on Brian’s plans worked great for this planning. Had it in my pocket while operating the mill. Also found a felled eastern white cedar and milled it. Cedars in this area, especially big ones (1ft+ diameter) tends to be either very knotty or rotted in the center. Tricky to mill but may yeild useful lumber. When I make the final cuts it will tell.


Next on the list is to make these into the pieces they need to be. I’ll also pick up some spruce or pine for the keel and bottom stringers.
Day 2
Ripped the stringers, keel and lamination. Planed them and glued them up.


Used eastern white cedar for a couple stringers and the middle lamination. Moisture level was 12-14% after milling and 3 days drying time – initial was 18%. the cedar milled was fallen deadfall that was sitting at a 45 angle and sat dead for a year.
Used spruce /hard pine from the store for the lamination and rest of stringers. Glued up using titebond 3 and every clamp that fit. Leaving for 48h.
Oal canoe gunwales 15’2″
Day 3
Made some of the jigs today while waiting for the glue to cure. Steambox finished. As seen in the pic, I didn’t have dowel the proper size, but I had some oak cut at a 45 left over from a beam build for my friend. Used a hole saw in a drill press to round the ends and they went into the sides of the box like butter. Also get a lot more clearance than dowel.


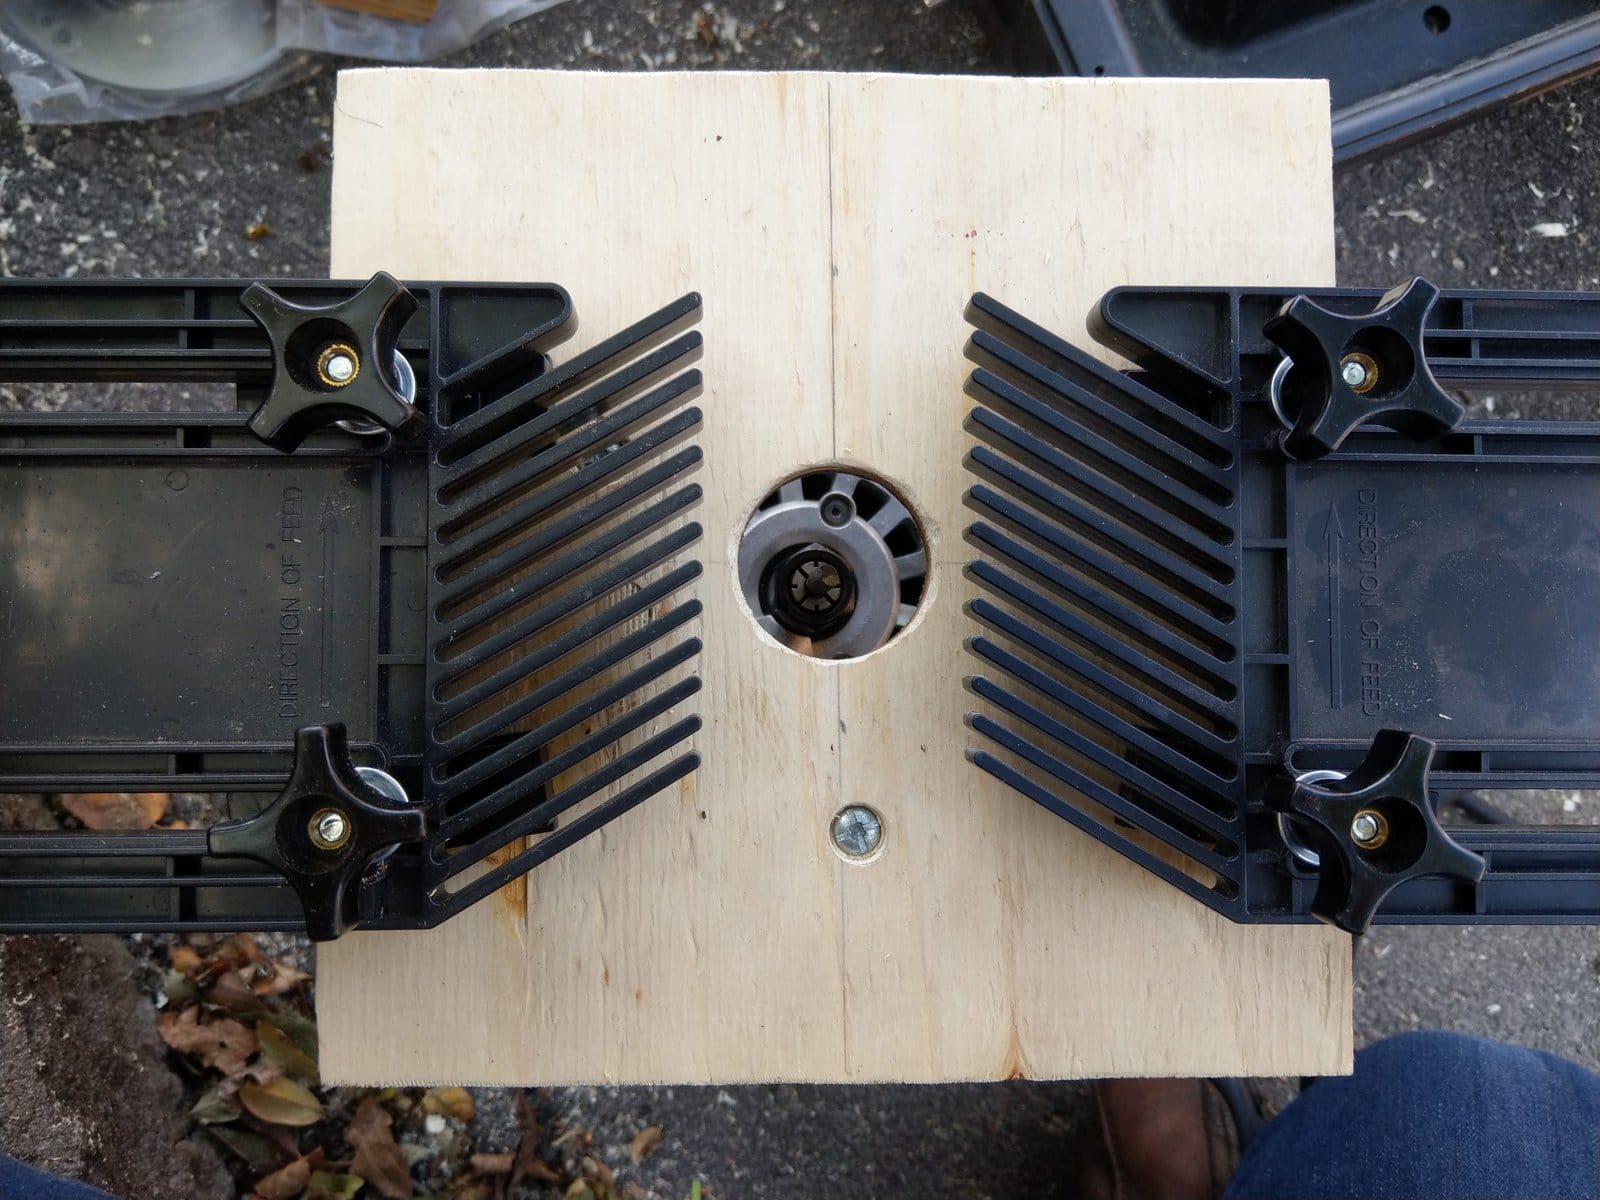

Made the router jig as well. I’m sure the clamp method Brian used would’ve been sufficient but I had a couple of feather boards lying around (10$) , so I used slightly larger ply and drilled 4 holes to mount them on either side. Very adjustable and you can make micro adjustments very easily. I’d recommend this jig.
My cedar I milled wasn’t wide enough for the stems, so I laminated a couple pieces together and clamped them together so it can be the correct size. Used birch dowels. Sun was out today and taking advantage of the warmth to help cure it faster.
Day 4
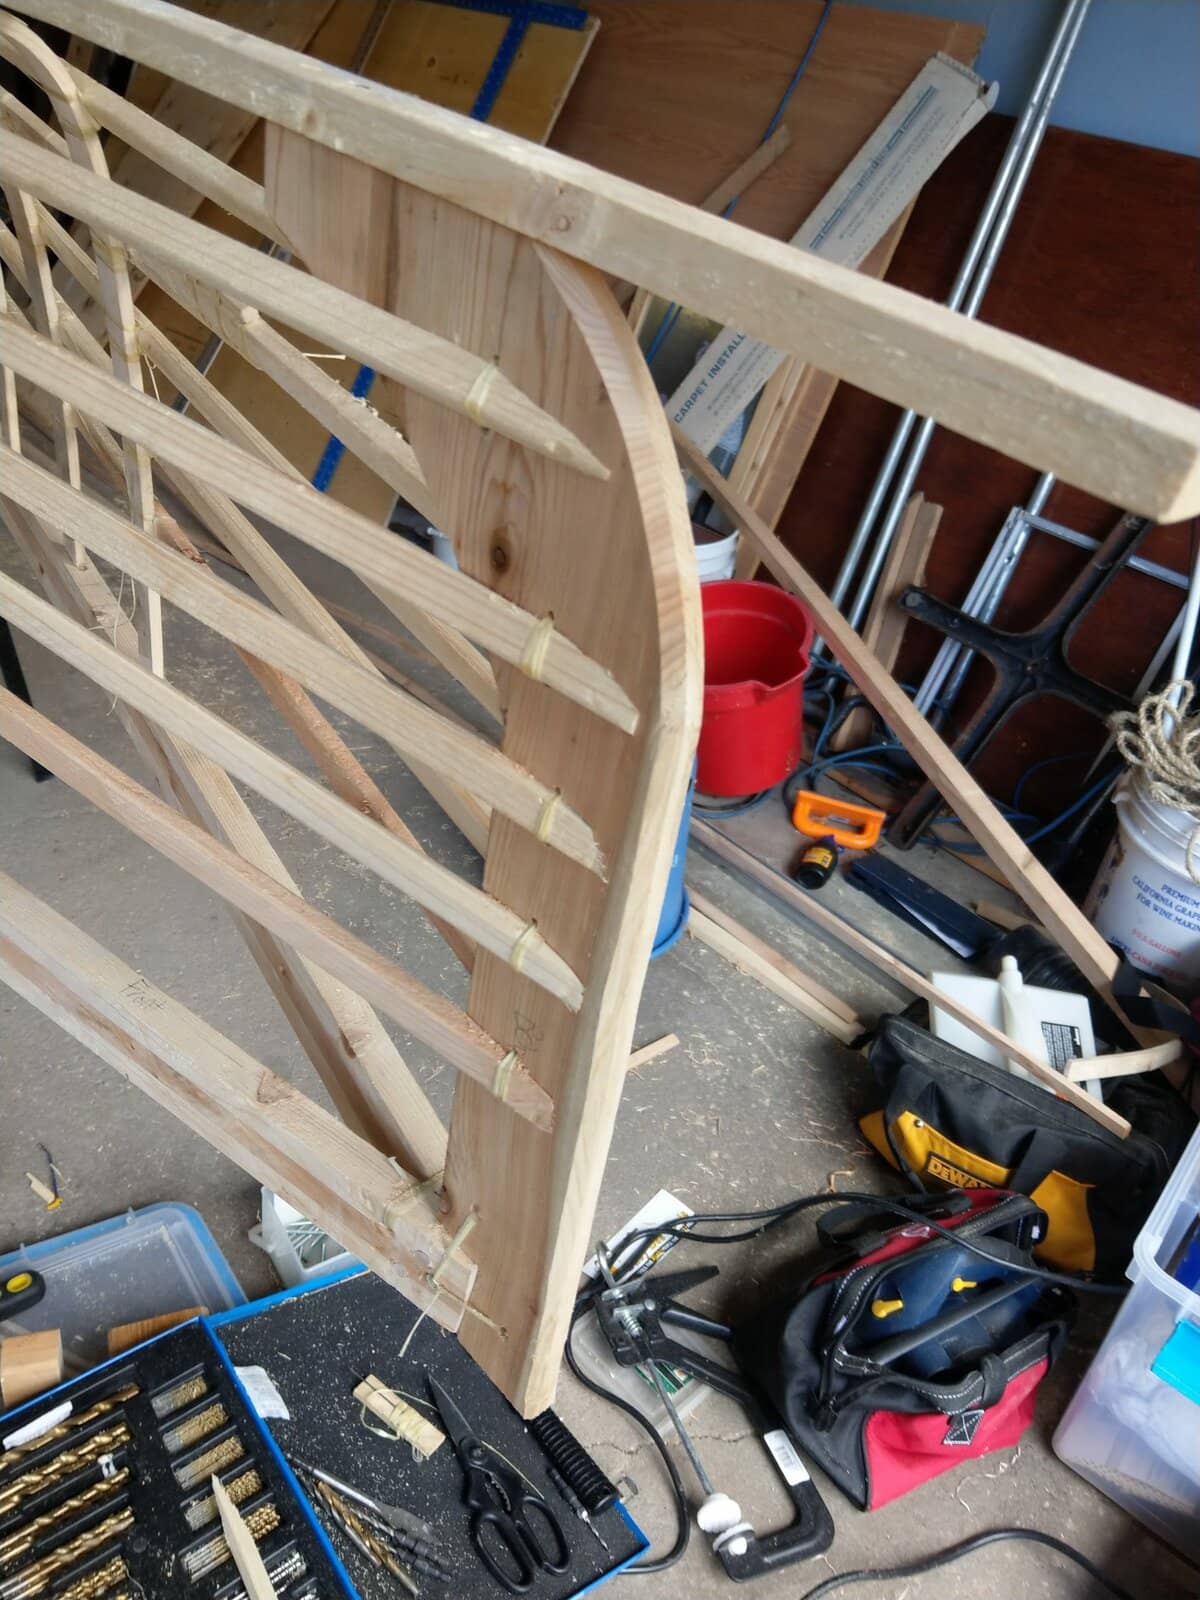
Cut the gunwales and dressed them. Used the jig and worked out great. As you can see here it stands on its own.

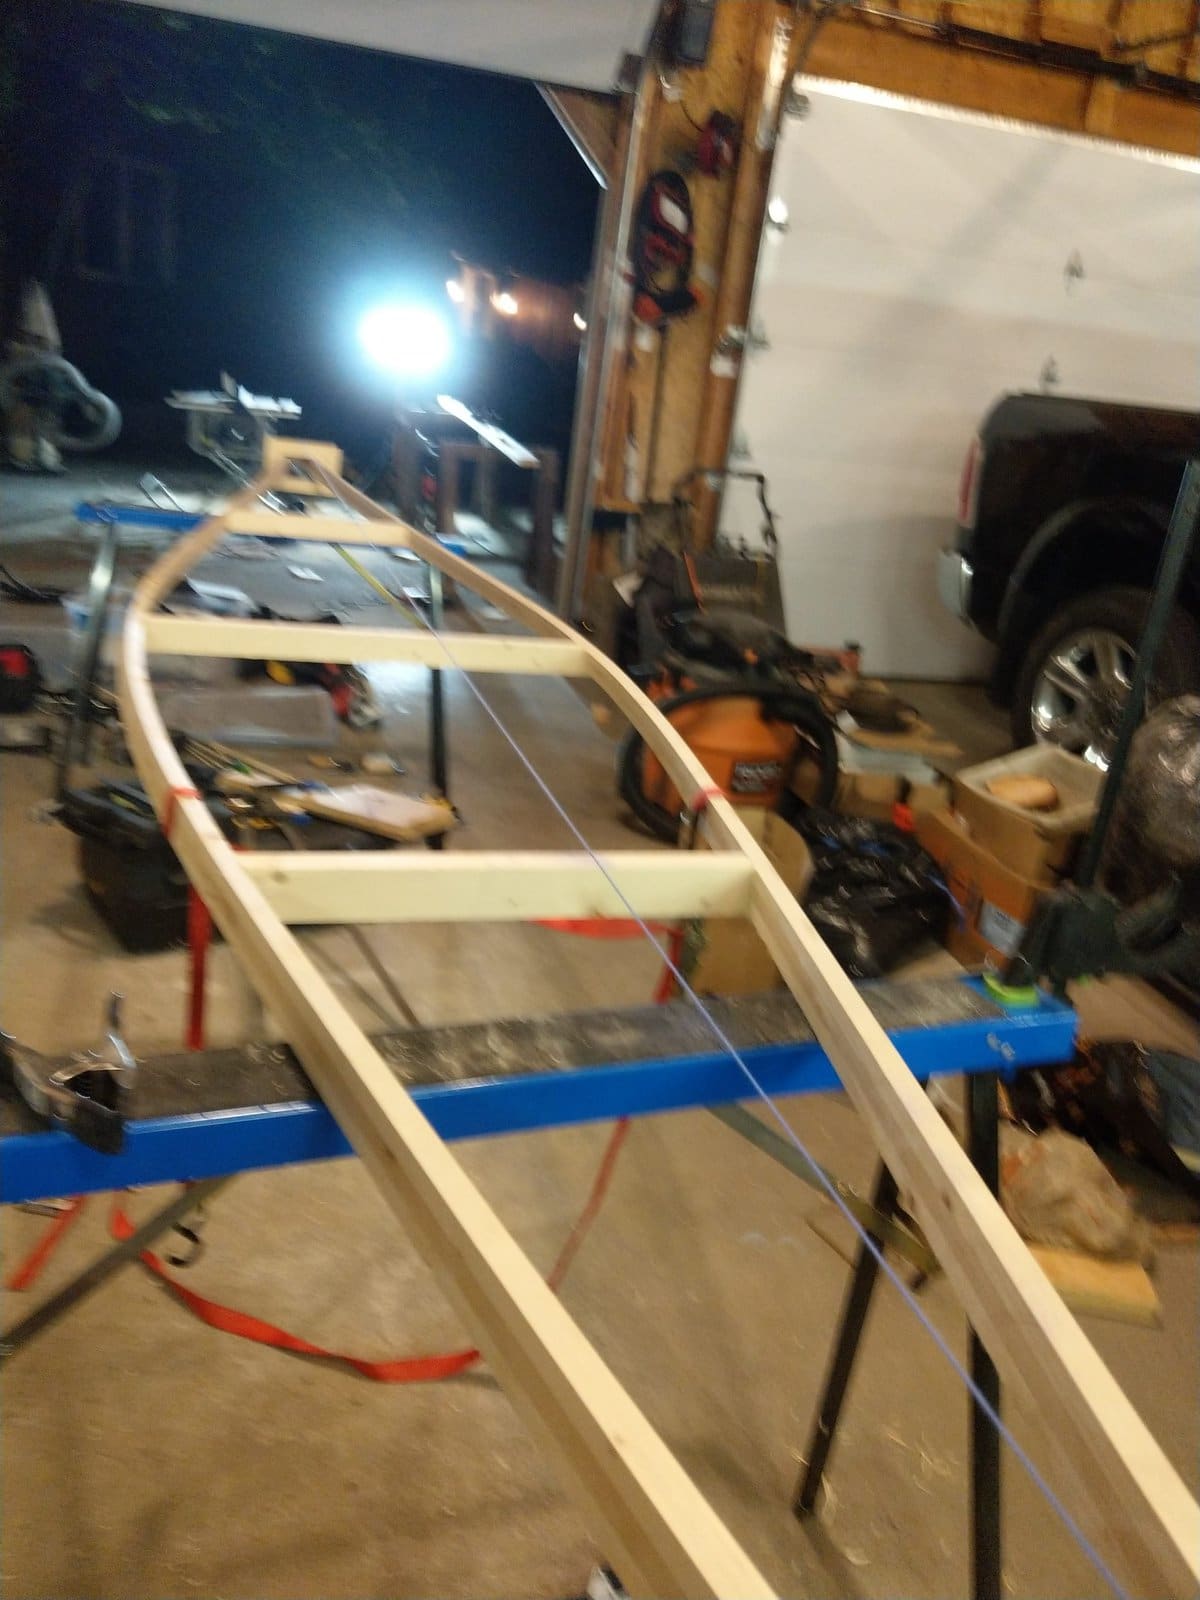


As you can see in the pictures above I cut the spreaders on a 20 degree angle to make a canoe with some tumblehome in it. I calculated some inherent loss in shear height.
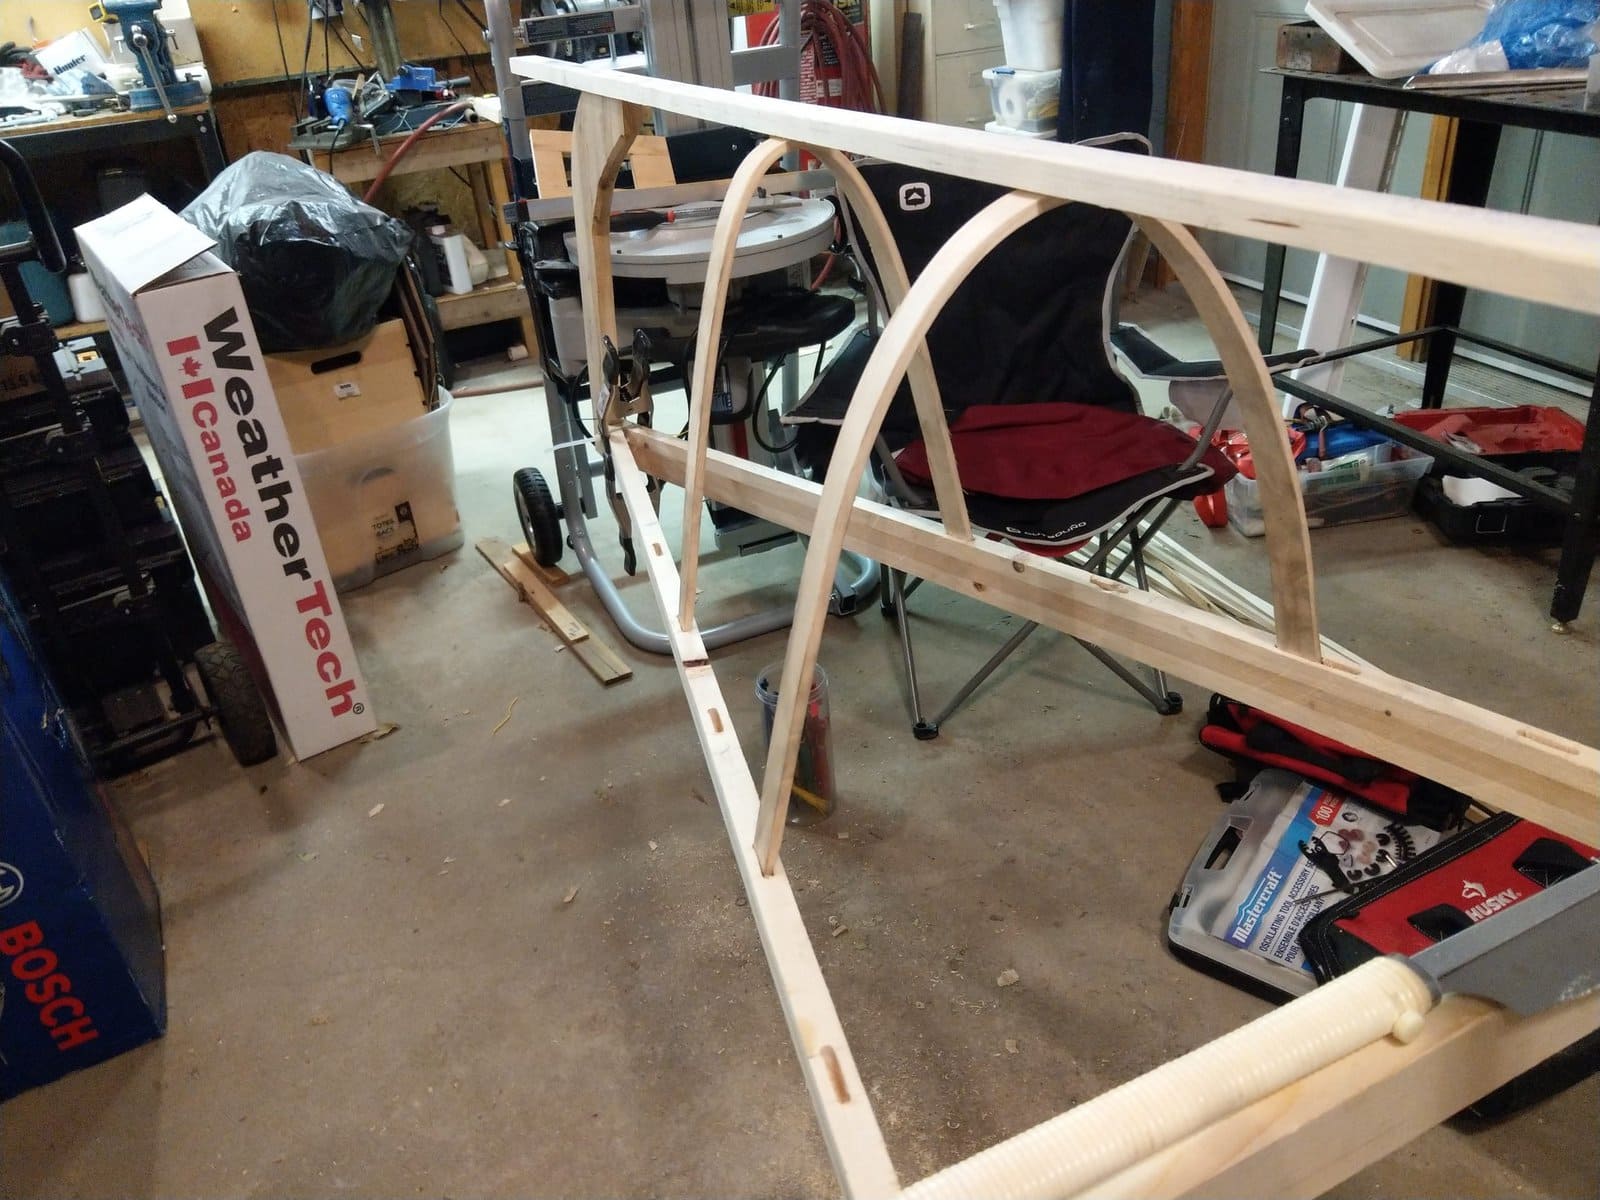
Put the stems on and measured the rocker. A tad more than I wanted but within acceptable limits.
Also cut some rib stock and laid them out. Moisture content with the ash ribs were between 26-30%.
Bent some test ribs. The end ones were good. Middle, I had to shift to a different position since it was a bit short. May have to play around with numbers. I’m guessing the 20 degree tumblehome is throwing things off. I’ll do some more test ribs tomorrow and see how it goes.
Day 5
Put some more test ribs in. Even with doing some corrective additions to Brian’s formula, something was off. Again, I think it’s due to the 20 degree angle of the gunwales. The ends are good but the middle ends up too short. I used a larger width to compensate but that didn’t work well either although it was closer. So I put the data in Excel and created a polynomial equation to calculate rib length. After that, it went smoothly. Unfortunately took the bulk of the day to test a few ribs input into Excel, try the refined equation on a couple ribs, refine then do the rest.
On the upside I only had one broken rib. The Ash worked extremely well. Found 5-6 minutes worked. I could go as little as 3.5 minutes and get a good bend if she was really ripping hot. Didn’t back the first or last ribs with a belt. And didn’t thin it out either. Bent perfectly.
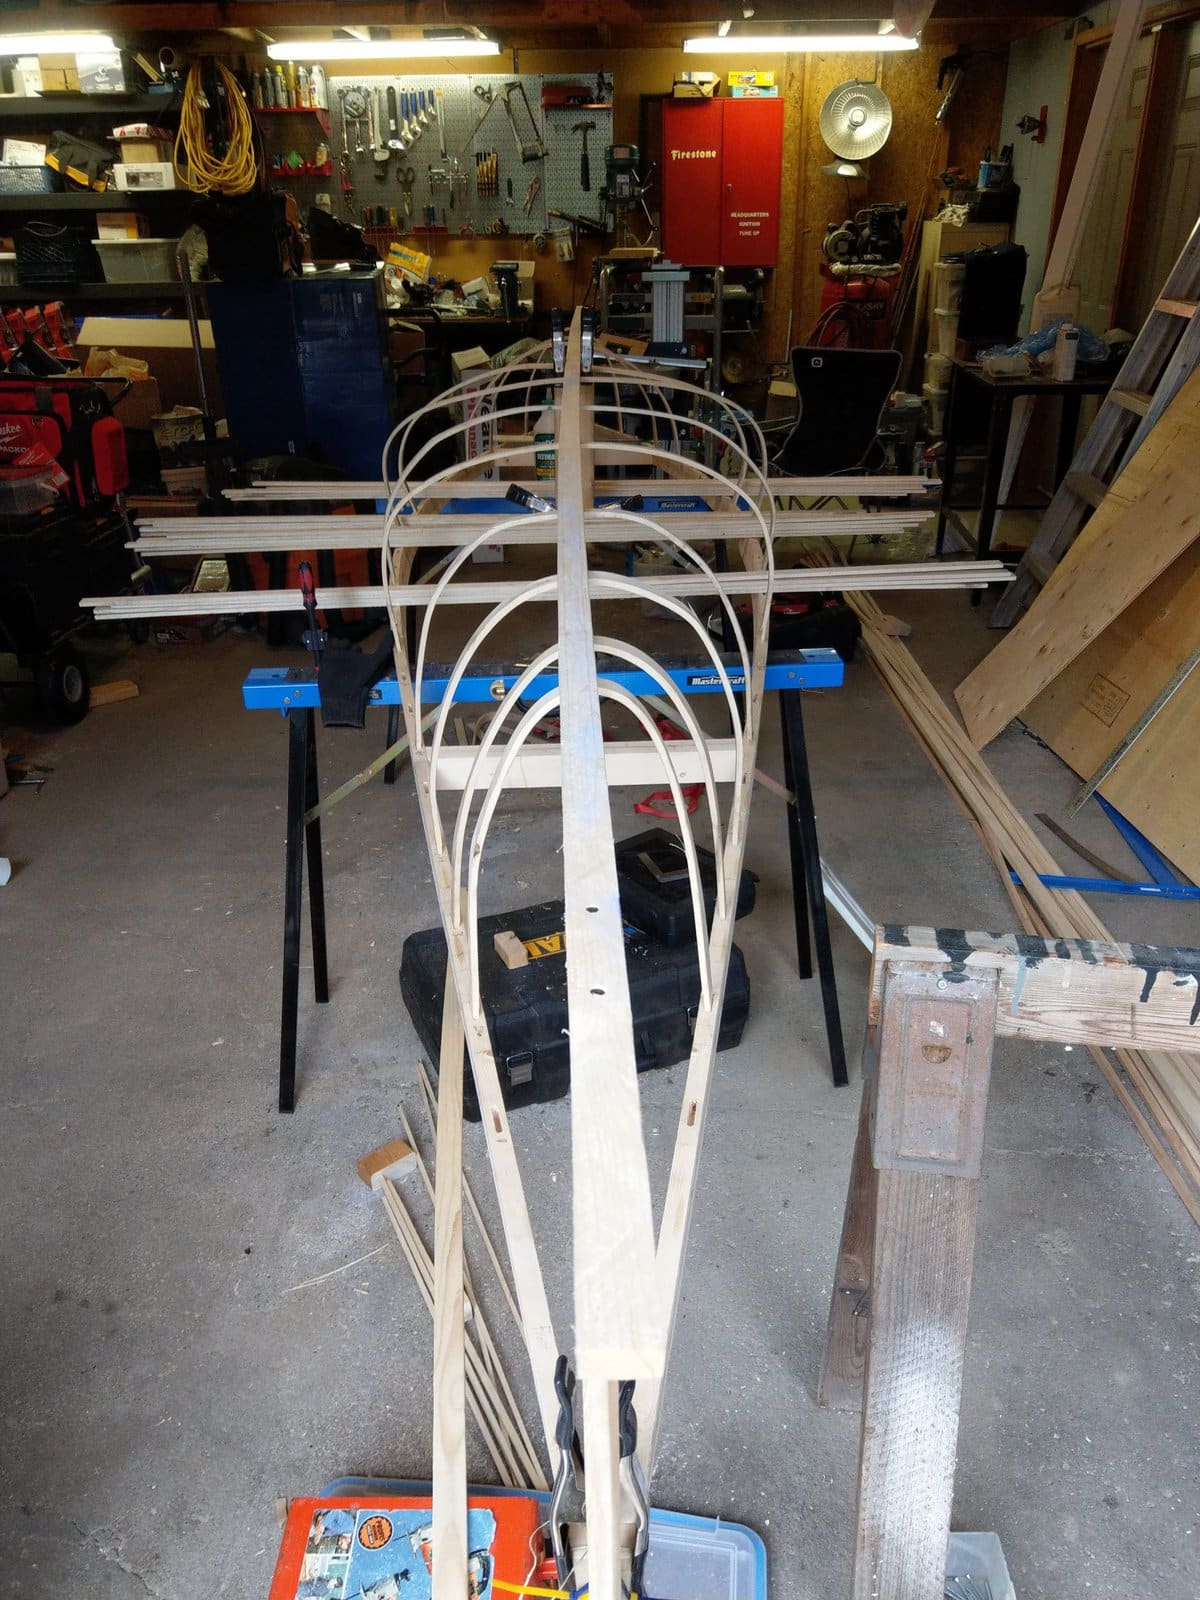


Looks decent. The formula I created worked out well. Next up is stringers.
Day 6
Got the stringers rounded over. Started with the router with roundover, then used a slick plane, then just a block plane. I later found in Brian’s kayak videos a more detailed video saying not to round over the stringers too much so I reverted to using the later 2 tools.
To wind the sinew I used a drill press and leftover rib stock. The drill press worked great. Used the height handle as a spool dispenser and the chuck held the rib OK. Made short work of it all.


Ended up using 5 stringers per side. Originally planned for 4 but the spacing was too large. Weird.
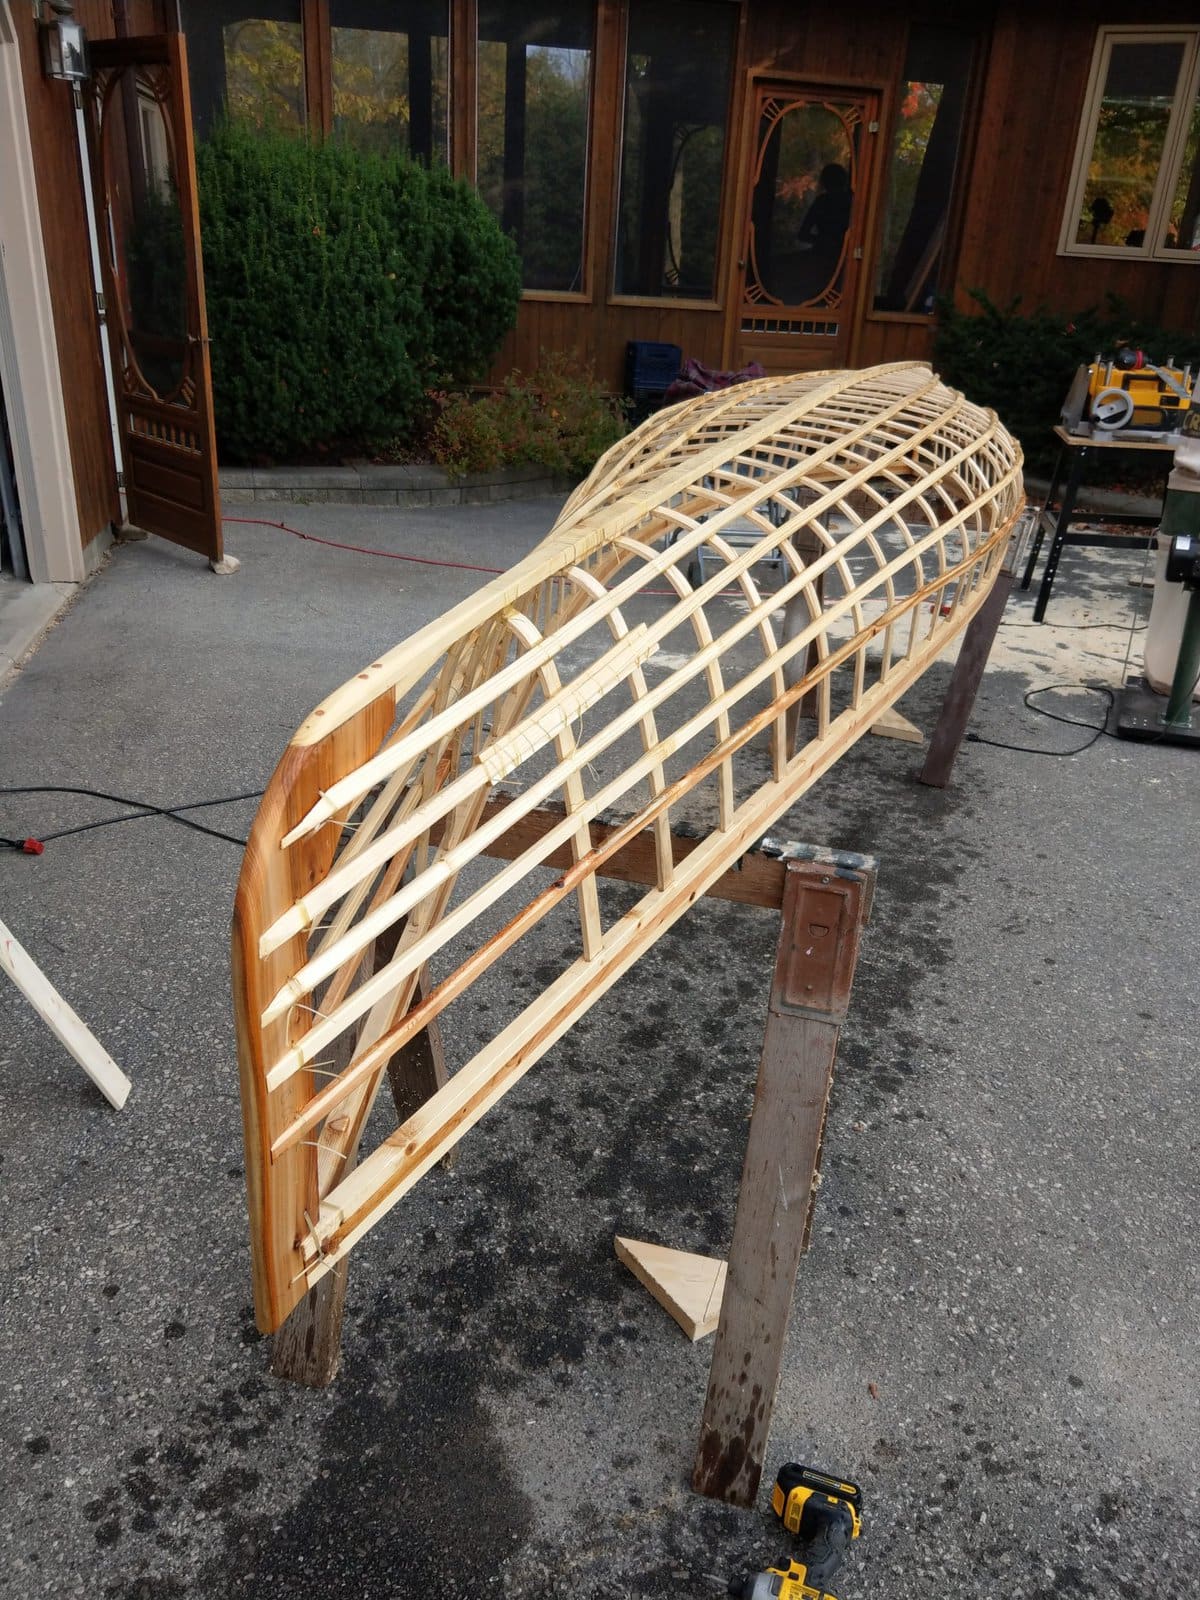
Tying on the stringers took the greater part of the day. Couldn’t believe it took that long. Looking like a canoe now.
Day 7
Today I thinned out the keel, pegged it and shaped it. I don’t think I’ll be putting stem bands on so I rounded them off.
Also, on doing some final measurements, I saw why my rib lengths were so off. The depth of my boat is close to 15″!!! The center support I put the keel on in the ribbing stage was 12.5″ on top of the center support, which was 2″ approx. So I forgot to subtract the value when cutting that wood. Rookie mistake. If the rocker values were far off it would have clued me in, but they were within 0.25″ of what they were supposed to be. I guess that’s why some of my longer ribs had issues fitting in the box. Too late to fix. On the upside, my size 12 feet will have no issues fitting under the center seat. Lol.
Dimensions are 15’4″ length. 29.5″ gunwale width, 33″ Max width at widest tumbleholme. 15 inches depth. Asymmetric 5 inches rear. 5 stringers. 19″ bow stem, 18″ stern. 2″ rocker.
Used 100% polymerised tung oil to coat. Stuff was thinned with mineral spirits which made most of it drip off but was fast drying. If I were to do it again, I’d just use regular tung oil. I love that stuff.


Day 8
While waiting for the oil to dry I made some seat hangers as well as created some small frames to test out some different canoe coverings. Wanted to try out army duck canvas (10.10oz), #10(15oz) canvas and cordura- 9oz 1000d. Upon getting the 15oz duck, I found it to be way too thick – 30mils. The other two materials were the same thickness – 20mils. So I used the army duck and the cordura for the tests.


Soaked the cordura, even though it was coated in one side. Put the army duck on as is. Wet it, then took a torch to shrink it. The army duck. I put on graduations on the fabric before stretching. They initially stretched by the exact same amount. 3% . After shrinking And coating (one coat only) though the canvas was much much tighter.
Tried some destructive testing with a sanding wheel and impact with a 15lb pointed plum weight dropped at various heights. For the abrasion testing both materials seemed equal. They lasted 5 seconds each. May need to use a slower method to see if there is a difference. The cordura came out on top by a wide margin with the impact test. At the same height the weight bounced off the cordura and made a 5mm hole in the cotton canvas. At greater heights the max the cordura was penetrated was 3mm. No rips. The duck canvas had a tendency to tear and make bigger holes.
On top of that the duck canvas took at least twice the amount of urethane and still absorbed twice the amount of water when submerged for 15min. The reason was because the urethane did not wet out the backside of the fabric. Something else would be needed to fill in the backside.
I decided on cordura for finishing the canoe.
Day 9
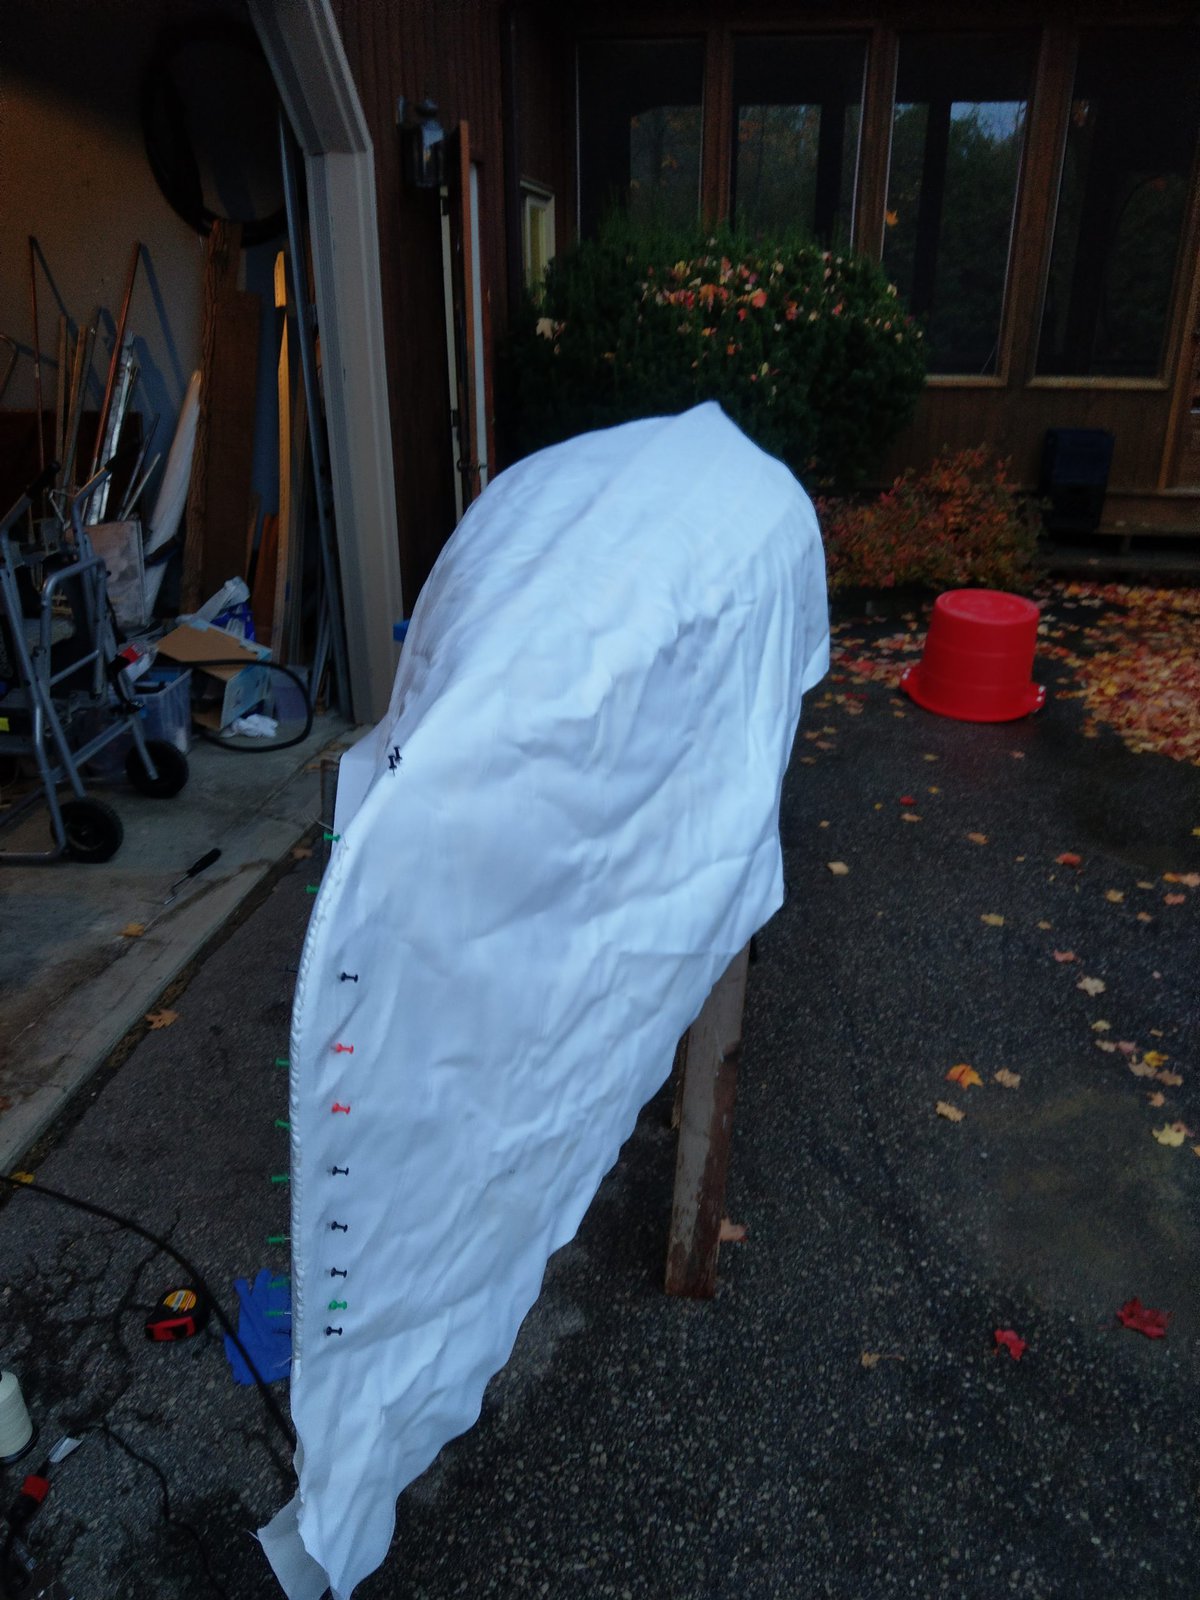
Soaked the cordura overnight in a tote. Then laid it out on the canoe. Cut and stitched. I put the steamer underneath so that it would make the nylon more plyable since it was a bit chilly out. Then did the stapling cutting, rub railing, and deck sewing. Leaving it to dry for a bit before coating.


Day 10
Coloured and coated the canoe today. Since the weather was great today wanted to do everything in one day. Water based dyes would take too long to dry, so I made alcohol based inks to color the canoe. Polyurethane and nylon are unaffected by methyl hydrate so I made my inks with that base. I tried using pure black walnut but it wasn’t dark enough. Then I was inspired by my white canvas and decided on HBC stripes. For the yellow dye I mixed turmeric and black walnut husks with alcohol. Blue, I used indigo, red, carnelian and the green was a commercial alcohol ink. Do not use rit dyes mixed with alcohol. Not consistent. The dyes I used dried in under an hour. I filtered my dyes to get the best adhesion.

I then coated it with the polyurethane I have. I used pureepoxy pp100. It’s a polyaspartic. 2 part urethane. Doesn’t yellow, 1.5:1, high tensile strength and abrasion resistance, very close to many epoxies, but has elongation of 100% as opposed to 5% with most epoxies.
I found the working time to be short. Said 15-20min on container, but I found that it needed to go on in 10min before it got thick. It was a bit cool out too which didn’t help viscosity wise. I also found I wasn’t getting enough material with the rollers in between the stringers and I was getting the Sandy orange peel stuff. This was circumvented easily by mixing 2.5 oz at a time of urethane and applying it with foam brush. Worked like a charm and came out super smooth to fill in the areas that didn’t get enough without over saturating.
Put 5 coats on. Reinforced the ends with 6oz s-glass skid plates. Wetted out and adhered amazingly well. Definitely recommend if you want a skid plate instead of bulky and trim affecting Kevlar felt. Also wetted out clear so it preserved the colour below.

Day 11
Test day. I put in a kneeling thwart in the stern, and a yoke in the middle for now. I’ll put in some other seats after trying it out a few times.


Verdict :
The extra height wasn’t too much of an issue once in edge. You don’t notice it at all in the stern when paddling tandem. In the center (or slightly to the stern as seen above) the tumblehome helps tonnes with reach. She tracks very well solo. 2 -3 strokes before needing to “j” stroke when heeled over. Stability is decent when heeled over. Better than the swifts winisk but not as stable as northstars. Turning is decent too. She does catch the wind more than I want, but paddling tandem it can hold 2 plus gear easily. Guess that’s a good trade-off.
Tandem paddling went well too for the length. Turning was a little harder as expected, but tracked well for the length. Tried out different positions for balance and I marked a couple for tandem that worked well. Will put in proper seats for the front at least. I prefer kneeling thwarts, so I may keep them in.
Idea for seats to match the boat:

1.5mm polypropylene. 1.5″ wide. Same stuff used in northstar canoe seats. Have a couple kneeling thwarts in there right now that are working great, but these may be good for a future upgrade.


December 11, 2020
Waw Daniel, great blog, great build! I love the way you managed to get tumblehome in your design. And the extra height makes for an original canoe 🙂
December 15, 2020
Thanks Seb!
Can’t wait to paddle her again once the ice melts.
May 24, 2021
How has the coated cordura held up? I am also from Ontario and have been struggling to find fabric at a reasonable price.
June 3, 2021
Has held up great. Took her out a couple more times this past spring. The cordura hasn’t sagged or loosened. Maintained it’s tightness. The only thing that changed is the yellow turmeric dye faded a little bit. I looked it up and turmeric is not colour fast and will fade in time. Should’ve used something else but out of all the colours, I’m glad it’s that one.
I’d try it out. The cordura is decently priced and worked out well for me. Took a little of finagaling to stretch it over the frame initially and work out bunching, but honestly, I’d do it again, wasn’t that big of a deal. I soaked it in a bin of water 2 days prior FYI to make it a little more stretchy and ran the steamer underneath while I was stapling the sides since it was getting close to freezing temperatures at the time I did that and wanted to keep it loose.