length 15’2″
depth 12 3/8″
beam 31″
tumblehome 1″ (reducing beam to 30″)
planned rocker 2 7/16″
actual rocker 2 1/16″
sheer 12 3/8″
weight approx 40 lbs (on inaccurate luggage scale)
I couldn’t say why I wanted to make a canoe.
I spent a while researching the kind of canoe I might make, beyond birch bark, the cedar strip seemed like the most aesthetically pleasing, but I didn’t fancy all the sanding of resin involved or the cost.
Western red cedar does grow in England but its pretty knotty, and imported cedar from N.america is very pricey .The plywood stitch-up seemed economical and technically doable, but a bit functional aesthetically.
I found the Flaxland website, just up the road from me, who make Coracles and fuselage framed canoes covered with linen and a uv light curing, linseed resin. I really liked the translucence and also the fact they would be about 95% biodegradable. I then came across the cape falcon channel on you tube and was seduced by the simplicity and beauty of the design. For me, this beats anything else I’ve seen, hands down.
I hoped it might be possible to combine Brian’s design with the Flaxland linen and linseed resin skin, and that was confirmed by cfk builder Ant Mace’s blog post, which made reference to just that. I visited Ant at his workshop on the dock and he pointed me in all the right directions. I have to say I was a little awed by the quality of the boats he’d made, and was not sure I could approach that level of craftmanship, but as the arm says…
When I’d printed out the plans I was none the wiser as to what sizes I should be going for, I was keen to make at least two, but there seemed to be so many permutations ,which Brian confirmed in a return email, but recommended a 15’2” based on the availability of wood lengths for the gunwales, which is typically 4.8 meters here (15’9″), and for the combined weight of me and one of my kids, and a smaller 14’4” to nest and to be a pack/solo hybrid ,potential catamaran hull.
Talking of numbers, converting from imperial to metric, was a constant headache. As a carpenter I tend to use both currencies, depending on the scale of what I’m measuring, but for the detailed stuff like rib and scantling thicknesses,or measuring the sheer heights, I found it too hard trying to visualise and amalgamate all the different fractions, 8ths,16ths,32ths and sometimes 64ths of inches, when 100ths and 1000ths of a meter are what I’m used to . On a practical level it means that wood and tool sizes in europe(incl uk) are not exact translations, for example a 1/4 inch = 6.35mm, so you wont be buying a true quarter inch dowel, but instead a 6mm nominal- though router bits do come in true imperial sizes also.
I know this sounds pedantic, but its just something to be aware of, and I’m not sure what the solution is, other than to not get too hung up on exact sizes.

I began the build in some upstairs space, lent to me by my local timber yard. I managed to get the gunwales cut and mortised here, before the boss decided to take a three week family holiday to avoid the quarantine travel restrictions that were to come into force later that week. So I was forced to move to my garden and front room, for the remainder of the build.

I used 60 plus clamps for the 15’9″ gunwales lamination. In the uk you can get these from toolstation sold as marquee clamps for about £1 each. however they tend to make indents in the wood, so i used some veneer scraps between the jaws and the wood.The rubber covered ones don’t bite the wood,just your pocket at 3x the price.

I cant remember exactly why there’s bricks in my tool bag hanging from the centre spreader, (probably lost sheer), but corrective weights hanging from or balancing atop the centre of the framework were recurring themes throughout the build.


Even though antique, these planes are cheap and effective. I think it was £4 from Bristol design tool shop.

I don’t think I bent the ribs down in the middle enough initially, and when I was about half way through I looked back to find they had relaxed and were pushing the keel up by about 3/4″. I may have left a few sofa cushions on them overnight to correct this.
You can see these babies have a bit more idiosyncratic wibble than Brian’s, and that bothered me -but it needn’t have as the stringers iron out any irregularities beautifully.
I think you have to keep in mind, pretty much everything you see in the videos is the best it could be-for demonstrative purposes, and also due to Brian’s experience.
Of all the videos I’ve seen, there’s only one where he lets his guard down momentarily, and works in a way I’m personally more aligned to. He’s trying to make a paddle in a hurry before it gets dark and there’s about 20m of power tool cables hes dancing on, as he works in time lapse -I felt a lot better after seeing that.

Had to dash out to get a 16′ piece of 2×1″for the keel, as I had mis-translated the dimensions in my earlier choice. No car this time. I had to push the bike most of the way from the timber yard, though I did have a little ride, just to see if I could.

This is a cabinet makers method for fixing doors that stick. By rubbing the stringer up and down against a piece of rough sanding belt you get a nice union with the stem.

I’ve added an extra rib at the ends, purely for aesthetic reasons as I felt the space between the last rib and the stem was too large. Its in fact a two piece rib, tied together, as the ‘V’ shape is probably too acute to be bent without breaking.

If I hadn’t been able to continue beyond this point I would have been happy. I spent a long time appreciating the innate beauty of this frame, it’s archetypal…suggesting shelters, traps and nets, very pleasing.

This ‘bowl’test model held the water outside for months, the resin did start to bobble a little, before someone took it from outside the house -I cant imagine what use they’d make of it.

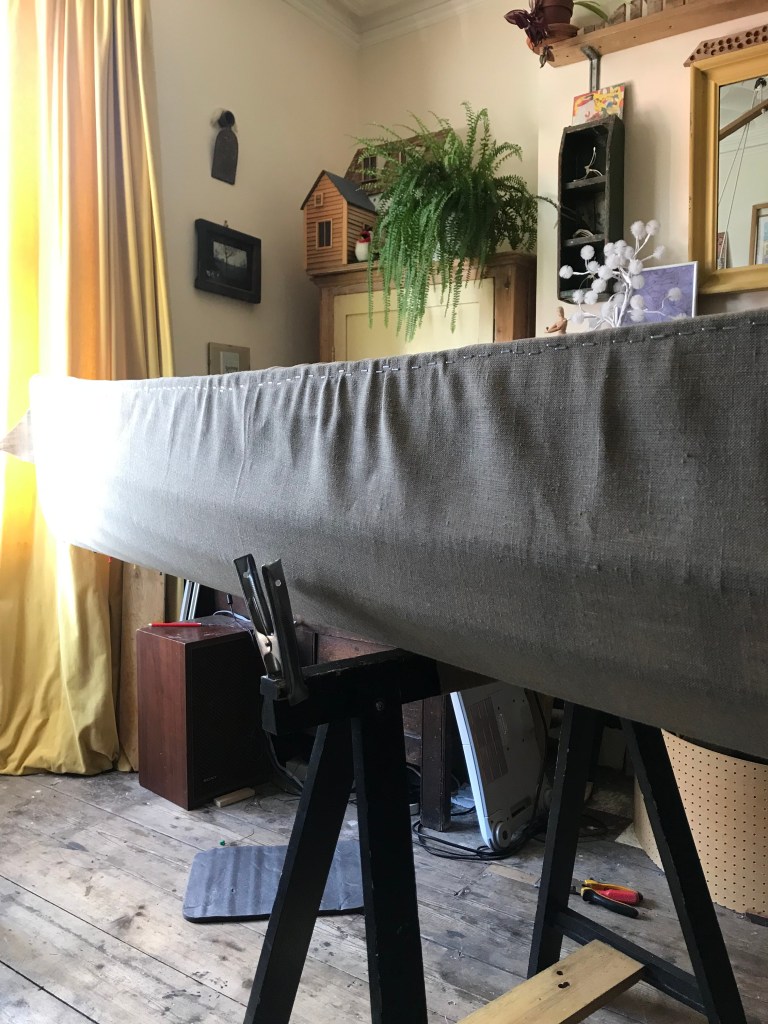


an attempt to pleat the excess material at the gunwales.
method rejected. I decided instead to put on the first coat of resin, and then remove the staples and re-stretch and re-staple whilst it was wet, which reduced a lot of the bunching. Also, I reduced the amount of tumblehome I’d added, from 2″ to 1″, hoping this might help.

I had to take a pane of glass out the bay window to get the boat onto the street, in the sun to cure. Then bring it back into my darkened front room for the second coat.

It wasnt.

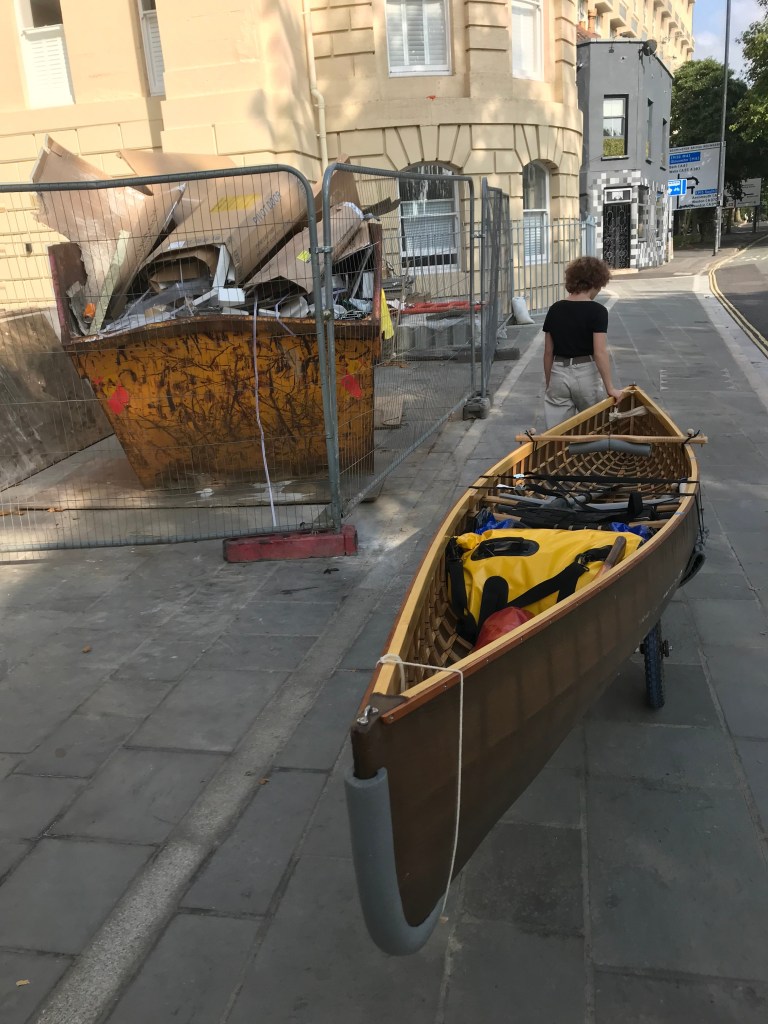
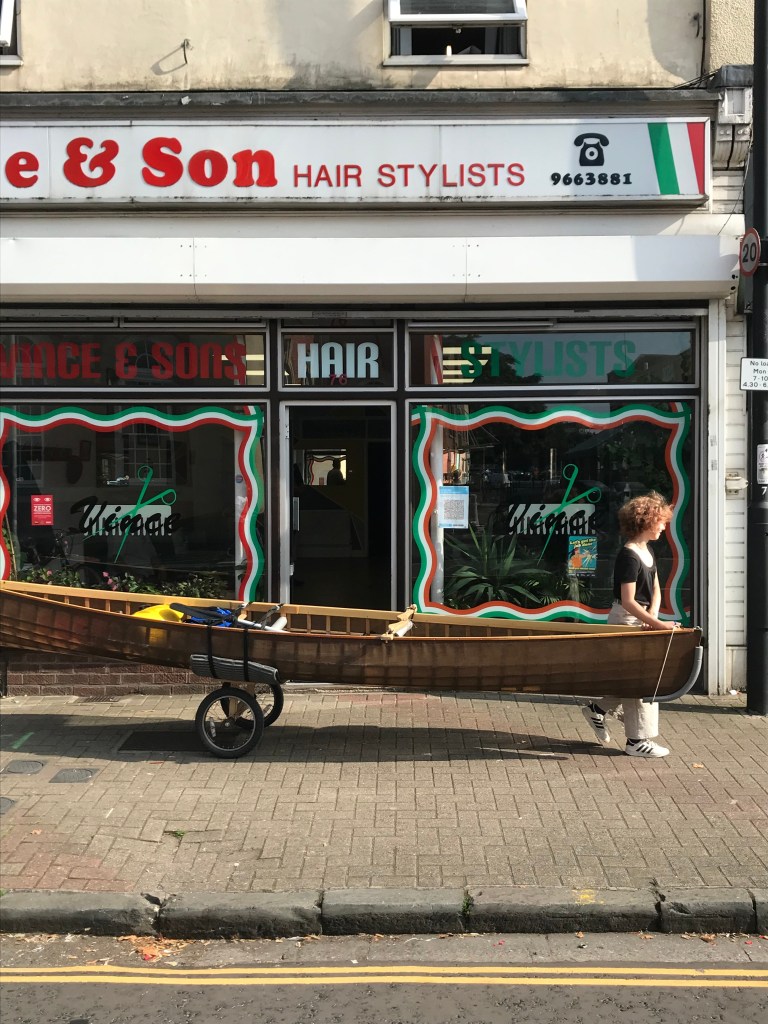
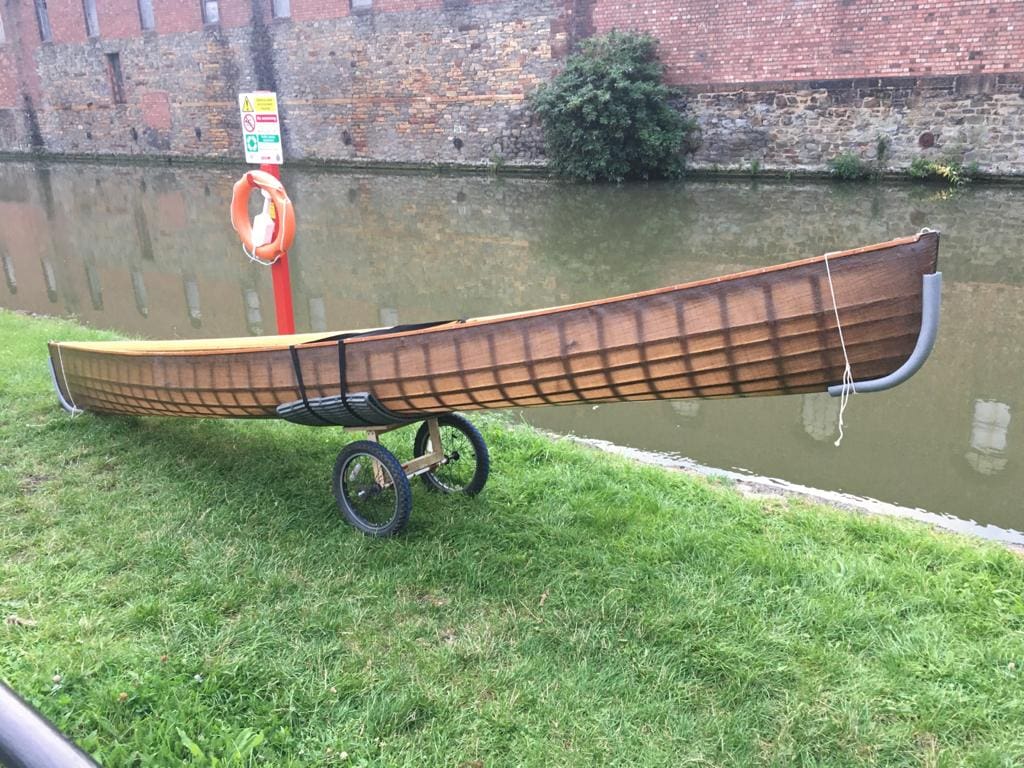
After 2 coats I built a set of wheels to walk it down to the docks, about a mile away.
however, if I was smart I would have dipped it in the mock up(above) to see if it was at all waterproof.
Because as soon as it touched the water, the water poured in. Its about a 40 minute walk , so to say I was disheartened…
The first thing I did was to take off the stem bands and reseal the screw holes, but it still leaked.
Turned out there were tons of micro holes, some not visible to the naked eye, even under a magnifying glass and bright light.
Eventually I realised the easiest way to find the invisible holes was to pour a bucket of water inside and see where it came out and then to mark those holes with tape and dab them with the resin, in the shade, bring it back out to cure, and re test. I had to repeat this process several times before there were no more leaks.


The first time I wheeled it down through town I’d had the wheels at the back, which was crazy because it meant I was carrying a lot of weight. Put the wheels in the centre and even my 12 yr old daughter can manouver it with ease.