
After obsessively watching all of Brian’s videos for some time, I decided it was time to stop pondering and start building. It was quite clear to me that I wanted the F1 model (150 lbs) for its versatility. Being in the Netherlands, the first thing I did was try to source all the materials needed for the project, which, especially the timber, wasn’t all that easy. So in this blog, I will also add a list of resources and prices (at the time of buying) that I used.
Materials and resources
The wood
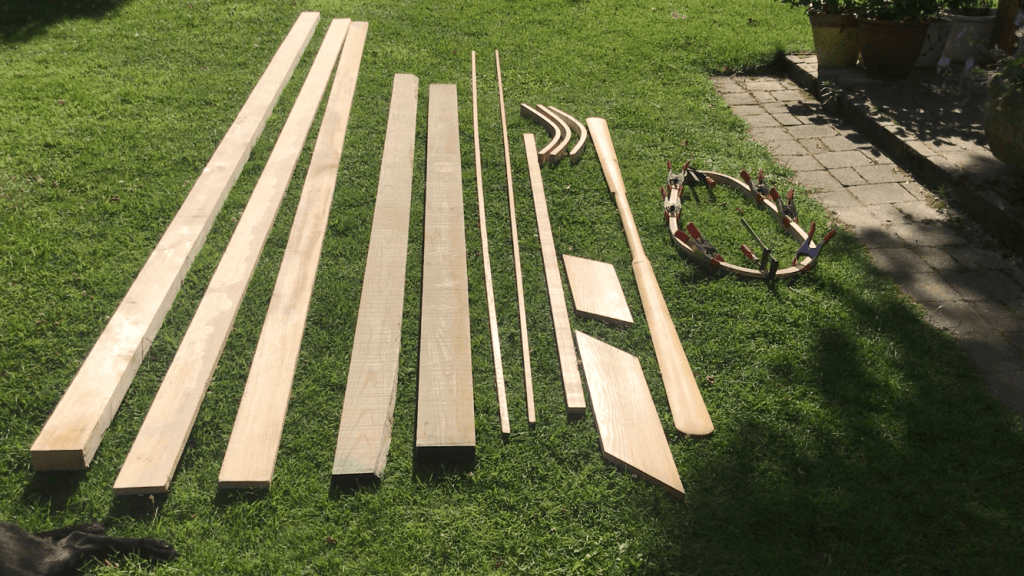
Since I am building in the Netherlands and I am building on a budget as I am a student (as you can see in the table it got plenty expensive anyways) I used different woods than Brian does.
For all the long pieces (gunwales, stringers, etc.) I am using Hemlock. This was about half the price of Western Red Cedar. It’s similar in density, but not that rot resistant, though I think it will be fine.
For the ribs and the coaming, I am using kiln-dried ash. This made me pretty nervous, but after making the coaming in one go I feel confident that bending the ribs will also work fine.
Skinning kit and varnish


I ordered a skinning kit from Kajakspesialisten in Norway together with some footrests and a backband. For the coating I bought extra UV-resistant boat lacquer that is supposed to also be somewhat flexible. We’ll see how this turns out!
Prepping the lumber


Since I don’t own a table saw nor a planer thicknesser, I had to process all the rough sawn lumber by hand planing it and resawing it on my small bandsaw. It’s really hard work and took me several days to get everything ready, but it does work fairly well.
Paddle and coaming
Before starting this blog I had already made the Greenland paddle. The reason for starting with this was because I was waiting for some other components and also because I saw it as a nice way of getting a feel for the lumber species that I got. I also made the coaming before starting on the rest of the boat. It wasn’t easy, but pretty doable and I managed to bend everything the first try.


Building the deck
Now that all of the wood is dimensioned I could start assembling the boat. Mortising the gunwales was a breeze. For the angled mortises I used a drill jig and some chisels.


The ribs
As I don’t have a tablesaw, all the ribs where cut on the bandsaw and planed to thickness by hand. A LOT of work


Now came the part I was most nervous for… Steam bending the ribs. I built a small steambox and attached the steam cleaner, and gave it a go.


Overall the bending went quite alright. But this dried ash DEFINITELY did NOT bend as well as the white oak Brian uses in the videos. It had a bit of a tendency to become wonky in places. Also I had some splits here and there, but nothing major.

It’s starting to look like a kayak!
On the same day I tied the keel and stringers. The keel and stringers smoothened out the discrepancies in the ribs nicely. I also added blocks onto the stems and mounted the aft deck stringers.


The next day I added the front deck stringers sanded the frame.


After some coats of a hardwax oil I had lying around the frame is done!


